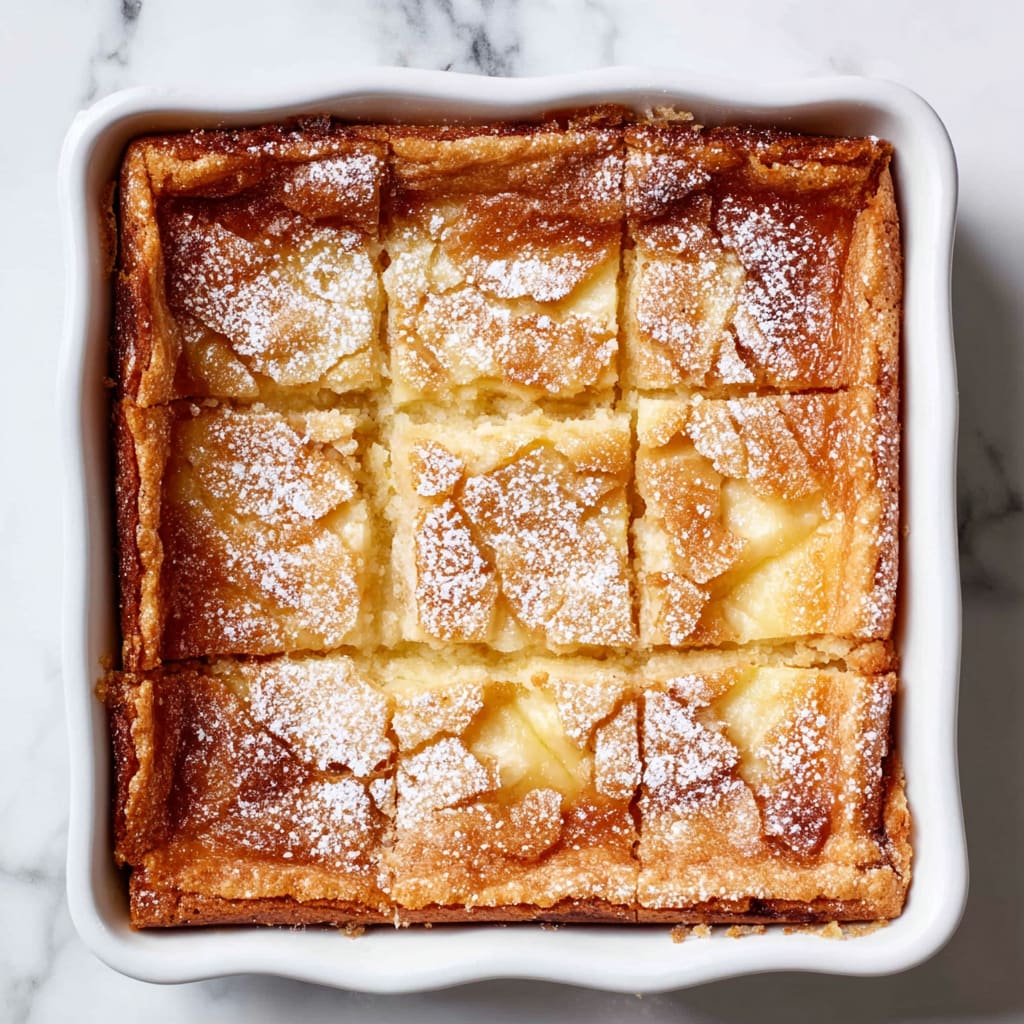

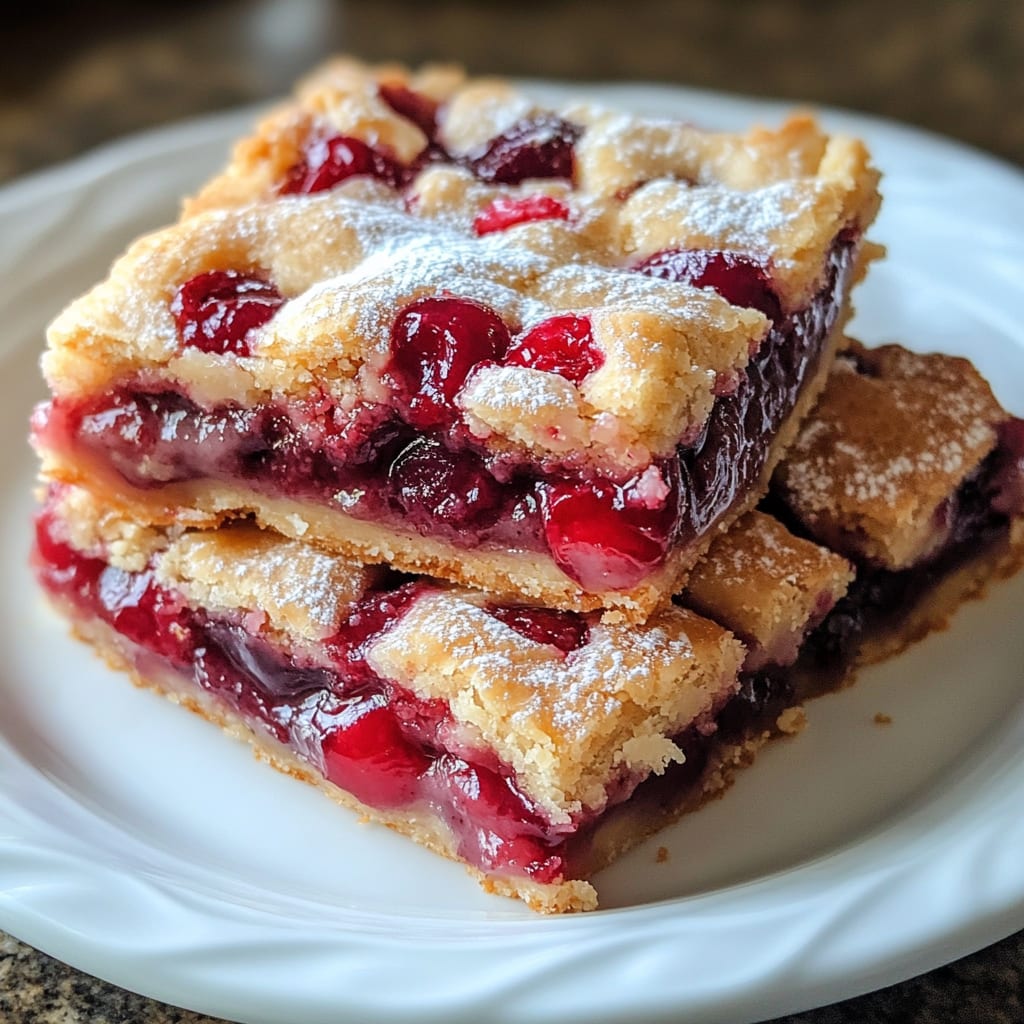
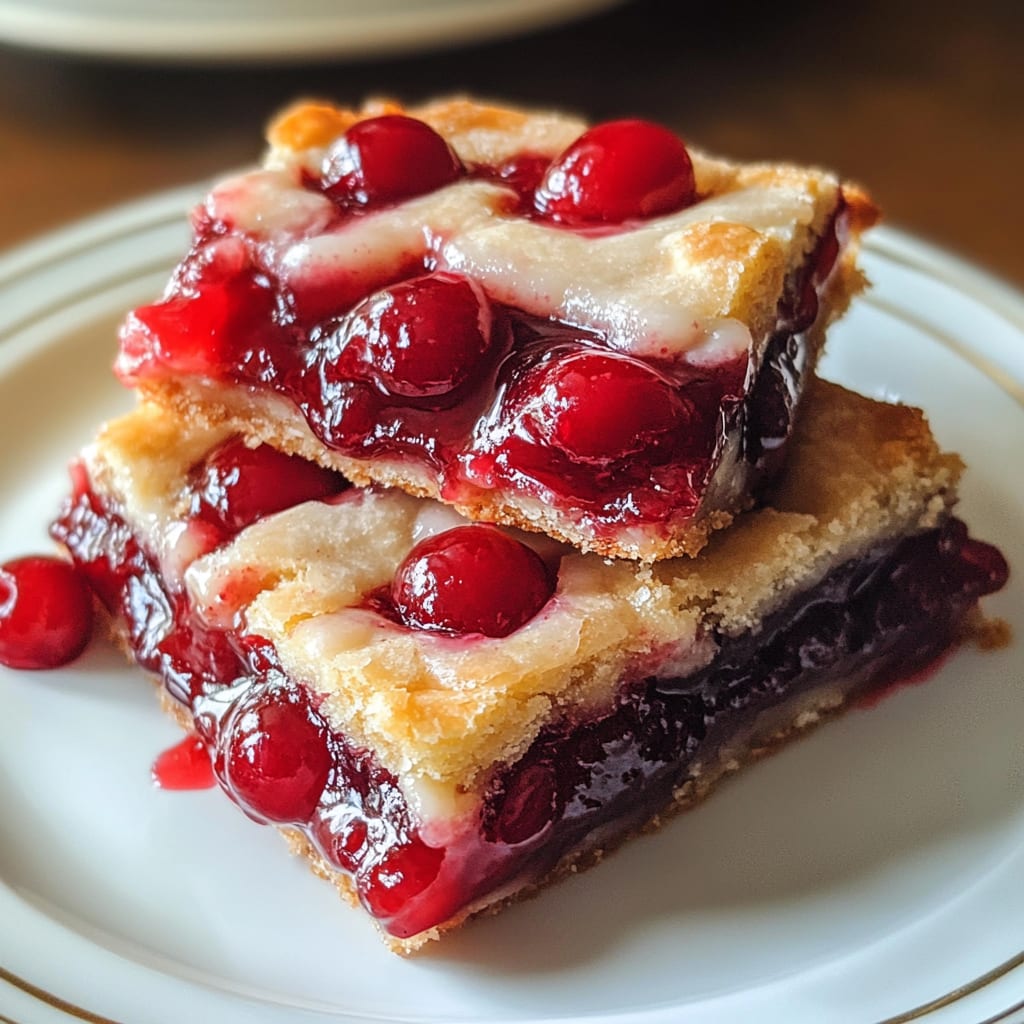
Imagine biting into a buttery, crumbly crust giving way to a sweet-tart cherry filling that’s perfectly jammy and bursting with fresh fruit flavor. These Cherry Pie Bars deliver all the satisfaction of a homemade cherry pie but in convenient, portable form. The contrast between the tender shortbread-like base and the vibrant cherry layer creates an irresistible treat that’s perfect for potlucks, picnics, or simply enjoying with your afternoon coffee. You’ll learn how to create these delectable Cherry Pie Bars with minimal fuss while achieving maximum flavor, complete with that signature golden crumble topping that makes them utterly impossible to resist.
Why You’ll Love This Recipe
These Cherry Pie Bars strike the perfect balance between convenience and homemade goodness. Unlike traditional cherry pie that requires careful crimping and pie crust skills, these bars come together with simple pressing and crumbling techniques that even beginners can master. The textures are what make these bars truly special – a firm yet tender bottom crust that provides the perfect foundation, a luscious cherry filling with just the right amount of thickness (never soggy!), and a crumbly, buttery topping that adds a delightful contrast.
The sweet-tart cherry flavor intensifies as the bars cool, creating a deeply satisfying dessert experience. And while they look impressive enough for company, they’re simple enough for weeknight baking. Perhaps best of all, these Cherry Pie Bars can be made ahead of time and actually improve after a day of resting, allowing the flavors to meld beautifully. Whether you’re a seasoned baker or just starting out, you’ll appreciate how these bars deliver cherry pie satisfaction with a fraction of the effort.
Ingredients
For the Crust and Crumble:
- 3 cups (375g) all-purpose flour
- 1 cup (200g) granulated sugar
- 1 teaspoon baking powder
- ¼ teaspoon salt
- 1 cup (226g) cold unsalted butter, cubed
- 1 large egg, lightly beaten
- ½ teaspoon almond extract (optional but recommended)
For the Cherry Filling:
- 4 cups (about 600g) fresh cherries, pitted and halved (or 2 cans/21oz each of cherry pie filling)
- ⅔ cup (133g) granulated sugar (omit if using canned filling)
- ¼ cup (32g) cornstarch (omit if using canned filling)
- 2 tablespoons (30ml) lemon juice
- 1 teaspoon vanilla extract
- ¼ teaspoon almond extract
The fresh cherries provide a brightness that canned varieties can’t match, though quality cherry pie filling works wonderfully in a pinch. The almond extract in both components elevates these cherry pie squares with a subtle complementary flavor that enhances the natural sweetness of the cherries without overwhelming them.
Pro Tips
Perfect Crust Texture
The key to exceptional Cherry Pie Bars lies in handling the crust mixture properly. Keep your butter very cold until the moment you need it, then work quickly when incorporating it into the dry ingredients. For the ideal crumbly texture, use your fingertips rather than your palms (which are warmer) to rub the butter into the flour mixture until it resembles coarse crumbs. Stop when you still see small pea-sized pieces of butter—these create those desirable flaky pockets in the finished bars.
Cherry Filling Consistency
When making the filling from fresh cherries, cook it until it reaches the perfect consistency—thick enough to slice cleanly but not so thick it becomes gummy. The visual cue to watch for: when you drag a spoon through the mixture, it should leave a clear path that fills in slowly. Always let the filling cool completely before spreading it over the crust to prevent sogginess.
The Perfect Crumble
For the most appealing Cherry Pie Bars, don’t press the top crumble layer down. Instead, sprinkle it loosely over the filling, allowing some of the vibrant cherry color to peek through. This creates more textural contrast and ensures those delightful crispy edges on the finished bars that everyone fights over.
Instructions
Step 1: Prepare Your Baking Pan
Preheat your oven to 350°F (175°C). Line a 9×13-inch baking pan with parchment paper, leaving an overhang on the sides for easy removal. Lightly grease any exposed corners.
Step 2: Make the Crust Mixture
In a large bowl, whisk together the flour, sugar, baking powder, and salt. Add the cold cubed butter and use a pastry cutter or your fingertips to work it into the dry ingredients until the mixture resembles coarse crumbs with some pea-sized pieces remaining. Stir in the beaten egg and almond extract until just combined. The mixture will look crumbly but should hold together when pressed.
Step 3: Form the Bottom Crust
Press about two-thirds of the crust mixture firmly into the bottom of your prepared pan, creating an even layer. Pierce the crust several times with a fork to prevent bubbling. Bake for 15-18 minutes until the edges just begin to turn golden. Remove from oven but keep the oven on.
Step 4: Prepare the Cherry Filling
While the crust bakes, make your filling. If using fresh cherries, combine them with sugar, cornstarch, lemon juice, and extracts in a medium saucepan. Cook over medium heat, stirring frequently, until the mixture thickens and begins to bubble, about 8-10 minutes. Remove from heat and let cool slightly. If using canned filling, simply stir in the extracts.
Step 5: Assemble and Bake
Spread the cherry filling evenly over the par-baked crust, leaving a small border around the edges. Crumble the remaining crust mixture over the top, allowing some cherry filling to show through. Return the pan to the oven and bake for an additional 25-30 minutes, until the topping is golden brown and the filling is bubbling around the edges.
Step 6: Cool Completely
The hardest part! Allow your Cherry Pie Bars to cool completely in the pan on a wire rack, at least 2 hours or ideally overnight. This cooling period is crucial for the bars to set properly, making them easier to cut and improving their texture and flavor.
Variations
Almond Cherry Pie Bars
Enhance the almond flavor that pairs so beautifully with cherries by adding ½ cup of sliced almonds to the crumble topping. You can also increase the almond extract to a full teaspoon in the crust mixture and add a simple almond glaze (1 cup powdered sugar mixed with 2-3 tablespoons milk and ¼ teaspoon almond extract) drizzled over the cooled bars for an elegant finish.
Mixed Berry Cherry Pie Bars
Create a delightful berry medley by replacing half the cherries with a mixture of blueberries, raspberries, and blackberries. This variation offers a more complex flavor profile while maintaining the beautiful red hue of the Cherry Pie Bars. Add a teaspoon of lemon zest to the filling to brighten the mixed berry flavor.
Chocolate Cherry Pie Bars
For chocolate lovers, add ½ cup mini chocolate chips to the crumble topping and drizzle the cooled bars with melted dark chocolate. The combination of tart cherries and rich chocolate creates an indulgent dessert reminiscent of Black Forest cake in bar form.
Storage and Serving
These Cherry Pie Bars actually improve with a day of rest, making them perfect for make-ahead desserts. Store them in an airtight container at room temperature for up to 3 days or in the refrigerator for up to a week. For longer storage, wrap individual bars tightly in plastic wrap and freeze for up to 3 months. Thaw overnight in the refrigerator before serving.
For the perfect serving experience, warm individual bars in the microwave for 15-20 seconds and top with a scoop of vanilla ice cream for a delightful contrast of warm and cold. For an elegant dessert plate, serve a bar with a dollop of freshly whipped cream and a few fresh cherries on the side. These Cherry Pie Bars also pair wonderfully with coffee or tea for an afternoon treat, or try them alongside a glass of dessert wine like a late harvest Riesling for a sophisticated pairing.
FAQs
Can I use frozen cherries instead of fresh?
Yes! Use the same quantity of frozen cherries, but don’t thaw them first. Add an extra tablespoon of cornstarch to account for the additional moisture, and increase the cooking time by 3-5 minutes.
Why did my bars turn out soggy?
Soggy bars usually result from underbaked crust or too-wet filling. Make sure to par-bake the bottom crust until it’s beginning to set, and cook the cherry filling until properly thickened. Always cool the filling slightly before adding it to the crust.
Can I make these Cherry Pie Bars gluten-free?
Absolutely! Replace the all-purpose flour with a 1:1 gluten-free baking blend. Add ¼ teaspoon xanthan gum if your blend doesn’t already include it to help with binding.
How do I know when the bars are done baking?
Look for golden brown edges on the crumble topping and bubbling filling around the sides. The center may still look slightly soft but will set as it cools.
Can I reduce the sugar in this recipe?
Yes, you can reduce the sugar in the crust mixture by up to ¼ cup without significantly affecting the texture. For the filling, reducing sugar by up to ⅓ cup works well if you prefer a more tart cherry flavor.
Conclusion
These Cherry Pie Bars are comfort food at its finest — delivering the heart-warming pleasure of homemade cherry pie in a convenient, portable format that’s perfect for sharing. The combination of buttery, crumbly shortbread and sweet-tart cherry filling creates a dessert that’s simultaneously nostalgic and fresh. It’s the kind of treat that bridges seasons and generations, equally welcome at summer picnics and holiday gatherings. Whether you’re an experienced baker or a novice in the kitchen, these bars offer the perfect balance of impressive results with approachable technique—proof that sometimes the simplest desserts are the most satisfying.
Print
Cherry Pie Bars
- Prep Time: 20 minutes
- Cook Time: 45 minutes
- Total Time: 1 hour 5 minutes
- Yield: 12 bars 1x
- Category: Dessert
- Method: Baking
- Cuisine: Americaine
Description
Cherry Pie Bars: Bursting with juicy cherries, buttery crust, and sweet glaze, these quick, crowd-pleasing treats are perfect for all.
Ingredients
- 3 cups (375g) all-purpose flour
- 1 cup (200g) granulated sugar
- 1 teaspoon baking powder
- ¼ teaspoon salt
- 1 cup (226g) cold unsalted butter, cubed
- 1 large egg, lightly beaten
- ½ teaspoon almond extract (optional but recommended)
- 4 cups (about 600g) fresh cherries, pitted and halved (or 2 cans/21oz each of cherry pie filling)
- ⅔ cup (133g) granulated sugar (omit if using canned filling)
- ¼ cup (32g) cornstarch (omit if using canned filling)
- 2 tablespoons (30ml) lemon juice
- 1 teaspoon vanilla extract
- ¼ teaspoon almond extract
Instructions
- Step 1: Prepare Your Baking Pan Preheat your oven to 350°F (175°C). Line a 9×13-inch baking pan with parchment paper, leaving an overhang on the sides for easy removal. Lightly grease any exposed corners.
- Step 2: Make the Crust Mixture In a large bowl, whisk together the flour, sugar, baking powder, and salt. Add the cold cubed butter and use a pastry cutter or your fingertips to work it into the dry ingredients until the mixture resembles coarse crumbs with some pea-sized pieces remaining. Stir in the beaten egg and almond extract until just combined. The mixture will look crumbly but should hold together when pressed.
- Step 3: Form the Bottom Crust Press about two-thirds of the crust mixture firmly into the bottom of your prepared pan, creating an even layer. Pierce the crust several times with a fork to prevent bubbling. Bake for 15-18 minutes until the edges just begin to turn golden. Remove from oven but keep the oven on.
- Step 4: Prepare the Cherry Filling While the crust bakes, make your filling. If using fresh cherries, combine them with sugar, cornstarch, lemon juice, and extracts in a medium saucepan. Cook over medium heat, stirring frequently, until the mixture thickens and begins to bubble, about 8-10 minutes. Remove from heat and let cool slightly. If using canned filling, simply stir in the extracts.
- Step 5: Assemble and Bake Spread the cherry filling evenly over the par-baked crust, leaving a small border around the edges. Crumble the remaining crust mixture over the top, allowing some cherry filling to show through. Return the pan to the oven and bake for an additional 25-30 minutes, until the topping is golden brown and the filling is bubbling around the edges.
- Step 6: Cool Completely The hardest part! Allow your Cherry Pie Bars to cool completely in the pan on a wire rack, at least 2 hours or ideally overnight. This cooling period is crucial for the bars to set properly, making them easier to cut and improving their texture and flavor.
Notes
Fresh ingredients will always yield the best flavor results.
Nutrition
- Serving Size: 1 bar
- Calories: 320
- Sugar: 20g
- Sodium: 150mg
- Fat: 15g
- Saturated Fat: 9g
- Unsaturated Fat: 6g
- Trans Fat: 0g
- Carbohydrates: 42g
- Fiber: 1.5g
- Protein: 3g
- Cholesterol: 40mg