
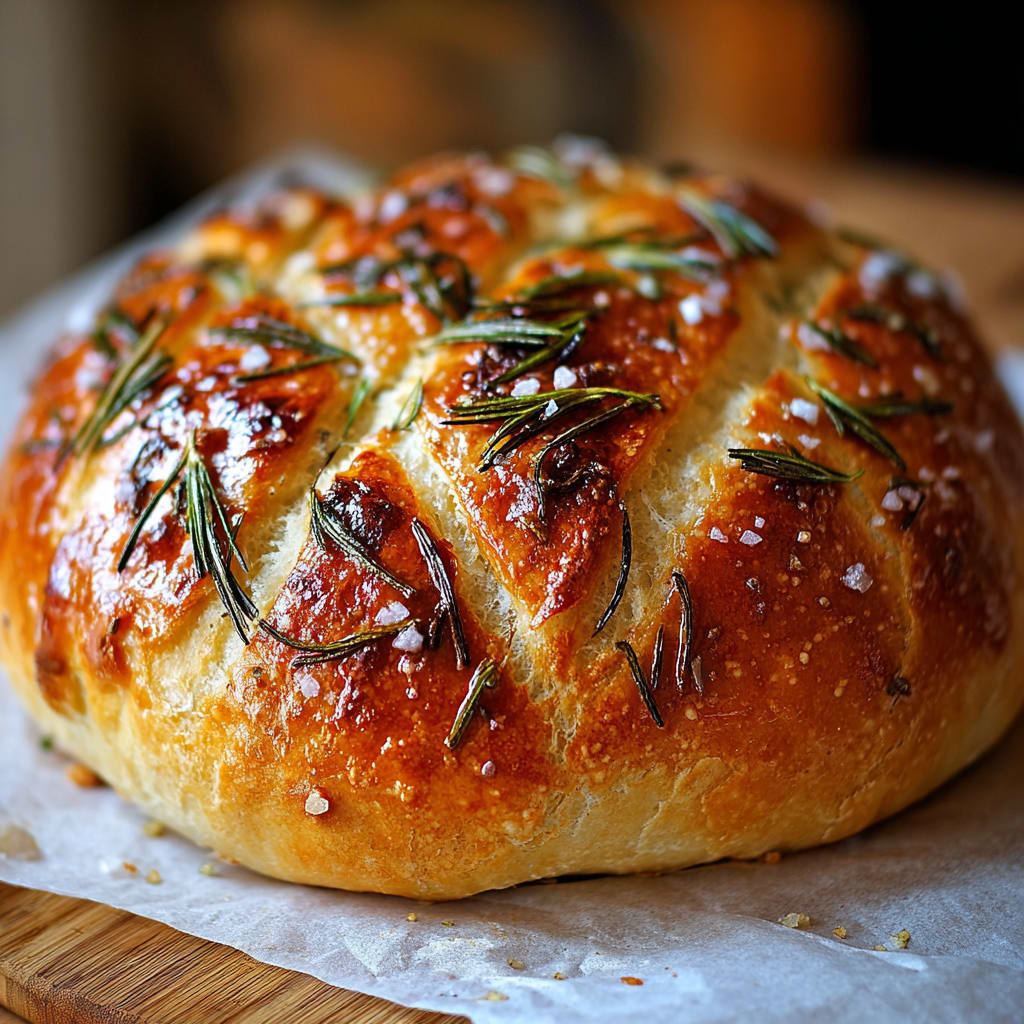
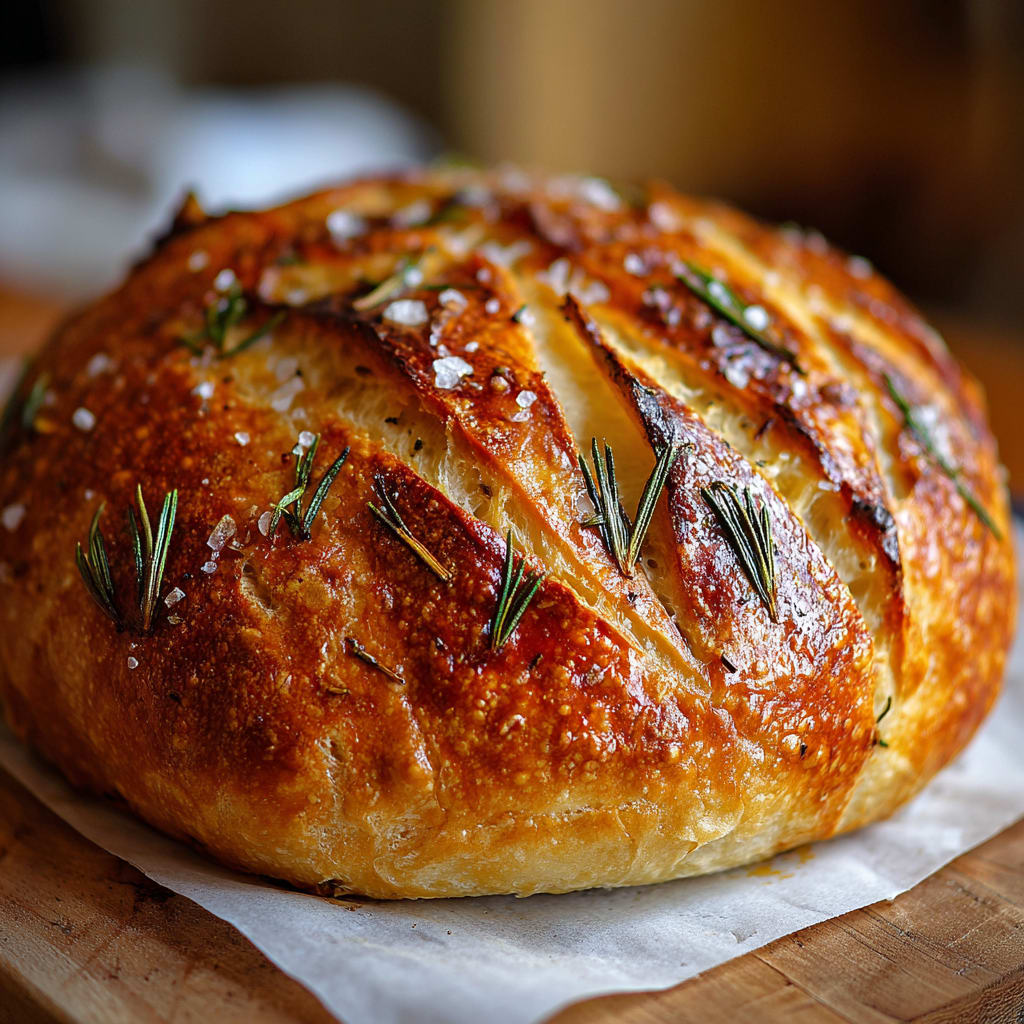
The aroma of Easy Roasted Garlic Rosemary Artisan Bread baking in your oven will transform your home into an artisanal bakery. This rustic loaf combines the sweet, mellow flavor of roasted garlic with fragrant rosemary in a crusty exterior that gives way to a tender, airy crumb. What makes this Easy Roasted Garlic Rosemary Artisan Bread special is the long fermentation process that develops complex flavors with minimal hands-on effort. You’ll learn how to create bakery-quality bread at home with simple ingredients and techniques that yield impressive results every time.
Why You’ll Love This Recipe
This Easy Roasted Garlic Rosemary Artisan Bread recipe will become your go-to for several compelling reasons. First, despite its professional appearance, it requires minimal hands-on time – just mix, wait, and bake. The slow fermentation does all the work developing flavor and texture while you’re free to do other things.
The contrast between the crackling crust and the soft, chewy interior creates a sensory experience that store-bought bread simply cannot match. Each bite delivers the aromatic herbaceous notes of rosemary balanced perfectly with sweet, mellow roasted garlic that infuses the entire loaf.
What’s more, this bread is incredibly versatile. It elevates a simple meal of soup or salad to restaurant quality, makes extraordinary sandwiches, and stands alone as an appetizer with good olive oil. The recipe is forgiving for beginners yet produces results that will impress even experienced bakers. The satisfying process of creating something so delicious from such basic ingredients connects you to centuries of baking tradition.
Ingredients List for the Easy Roasted Garlic Rosemary Artisan Bread
These carefully selected ingredients create the perfect balance of flavor and texture in this rustic bread. The slow-roasted garlic adds sweetness and depth, while fresh rosemary provides aromatic complexity that makes this loaf truly special.
For the Bread Dough:
- 1 whole head garlic
- 1 tablespoon extra-virgin olive oil (divided)
- Coarse sea salt & freshly ground black pepper
- 1½ cups water (room temperature, ~70°F / 21°C)
- 1 teaspoon active dry yeast
- 3 cups bread or all-purpose flour (plus more for dusting)
- ½ teaspoon dried oregano
- 1 teaspoon kosher or fine sea salt
- 2 teaspoons finely chopped fresh rosemary (plus more for topping)
- 1 head roasted garlic cloves (smashed)
Pro Tips
To achieve bakery-quality results with your Easy Roasted Garlic Rosemary Artisan Bread, focus on these critical techniques:
First, respect the fermentation process. The long rise at room temperature followed by cold fermentation in the refrigerator isn’t just convenience – it’s essential for developing the bread’s complex flavor and perfect texture. This slow process allows enzymes to break down starches into sugars, creating more flavor and better structure than quick-rise methods.
Second, handle the dough minimally after fermentation. The delicate air bubbles created during rising give artisan bread its characteristic open crumb structure. Gentle shaping preserves these bubbles – avoid the urge to knead or aggressively handle the dough after the first rise.
Finally, creating steam in your oven is crucial for achieving that crackling artisan crust. The Dutch oven method captures the bread’s natural moisture to create steam. Preheating the Dutch oven is essential – it immediately begins to form the crust when the dough hits the hot surface, preventing the bread from spreading and ensuring a beautiful rise.
Instructions
Step 1: Roast the Garlic
Preheat oven to 400°F (204°C). Cut the garlic head in half, drizzle exposed cloves with olive oil, sprinkle with salt and pepper, and wrap in foil. Roast for 40 minutes, then cool and remove cloves from skins.
Step 2: Mix the Dough
In a small bowl, dissolve yeast in room-temp water and let sit for 10–15 minutes. In a large bowl, combine flour, salt, oregano, and rosemary. Add yeast water, roasted garlic, and olive oil. Mix with spatula until sticky.
Step 3: First Rise
Cover the bowl with a clean towel and let rise at room temperature for 8–10 hours, until doubled in size.
Step 4: Shape and Cold Ferment
Turn dough onto floured surface and gently shape into a ball. Place seam-side up in a floured bowl or basket, cover, and refrigerate 1–24 hours (up to 48 for deeper flavor).
Step 5: Preheat Oven & Score
Preheat oven to 450°F (232°C) with a Dutch oven inside. Remove dough from fridge, invert onto parchment paper (seam-side down), and score top with a sharp blade.
Step 6: Bake
Place dough with parchment into preheated Dutch oven. Cover and bake for 30 minutes. Uncover and bake another 15–20 minutes until golden brown.
Step 7: Cool & Slice
Remove from Dutch oven and cool on wire rack at least 1 hour before slicing.
Variations
The versatility of Easy Roasted Garlic Rosemary Artisan Bread allows for delicious adaptations to suit different tastes and dietary needs:
For a Mediterranean twist, incorporate ¼ cup of chopped sun-dried tomatoes and ¼ cup of crumbled feta cheese into the dough before the first rise. The tangy cheese and sweet tomatoes complement the garlic and rosemary beautifully, creating a bread that pairs wonderfully with Greek and Italian dishes.
Those seeking whole grain options can substitute 1 cup of the all-purpose flour with whole wheat flour. This creates a nuttier flavor profile and adds nutritional benefits while maintaining a good rise. Just add an extra 2-3 tablespoons of water to compensate for the whole wheat flour’s higher absorption rate.
For a gluten-sensitive variation, replace the bread flour with a high-quality cup-for-cup gluten-free flour blend containing xanthan gum. Add 1 tablespoon of apple cider vinegar to the dough to help with structure, and expect a slightly denser but still delicious result.
Storage and Serving
Your freshly baked Easy Roasted Garlic Rosemary Artisan Bread will maintain its best quality for 2-3 days when stored at room temperature. Once completely cooled, place it cut-side down on a cutting board or wrap loosely in a clean kitchen towel. Avoid plastic bags, which trap moisture and soften the crust. For longer storage, slice the entire loaf and freeze it in a ziplock bag for up to 3 months, toasting slices as needed.
This bread makes an exceptional accompaniment to hearty soups and stews, where its robust crust and tender interior shine. Try it alongside a tomato-based Italian soup or a rustic bean and vegetable stew.
For an impressive appetizer, slice the bread thinly, brush with olive oil, and toast until crisp. Serve with a spread of whipped ricotta topped with honey and fresh herbs, or alongside a charcuterie board where it complements both creamy cheeses and cured meats.
For a simple yet elegant meal, serve thick-cut toasted slices rubbed with a halved tomato, drizzled with extra virgin olive oil, and finished with flaky sea salt—the perfect showcase for this flavorful bread.
FAQs
Can I use instant yeast instead of active dry yeast?
Yes! Substitute the same amount of instant yeast and skip the step of dissolving it in water. Simply mix the instant yeast directly with the dry ingredients before adding water.
Why does my bread need to rise for so long?
The long rise develops complex flavors and improves texture through slow fermentation. This process allows enzymes to break down starches into sugars, creating more flavor than quick-rise methods. The extended time also helps develop gluten structure without excessive kneading.
Can I make this bread without a Dutch oven?
Yes, though results may vary. Place a baking stone or inverted baking sheet in the oven while preheating. When ready to bake, place the dough on parchment paper on the hot stone and create steam by putting an oven-safe pan with boiling water on a lower rack.
Why is my bread dense instead of airy?
Dense bread usually results from under-proofing, over-handling the dough after fermentation, or using old yeast. Make sure your dough doubles during the first rise and handle it very gently during shaping to preserve air bubbles.
Can I prepare the dough in advance?
Absolutely! After shaping, the dough can remain refrigerated for up to 48 hours before baking. This extended cold fermentation actually improves flavor development, making this Easy Roasted Garlic Rosemary Artisan Bread perfect for planning ahead.
Easy Roasted Garlic Rosemary Artisan Bread
- Prep Time: 15 mins
- Cook Time: 30 mins
- Total Time: 45 mins
- Yield: 4 people 1x
- Category: Appetizer
- Method: Cooking
- Cuisine: American
Description
Discover how to make Easy Roasted Garlic Rosemary Artisan Bread at home with this simple recipe. Try it today!
Ingredients
For the Bread Dough:
- 1 whole head garlic
- 1 tablespoon extra-virgin olive oil (divided)
- Coarse sea salt & freshly ground black pepper
- 1½ cups water (room temperature, ~70°F / 21°C)
- 1 teaspoon active dry yeast
- 3 cups bread or all-purpose flour (plus more for dusting)
- ½ teaspoon dried oregano
- 1 teaspoon kosher or fine sea salt
- 2 teaspoons finely chopped fresh rosemary (plus more for topping)
- 1 head roasted garlic cloves (smashed)
Instructions
- Step 1: Step 1: Roast the Garlic Preheat oven to 400°F (204°C). Cut the garlic head in half, drizzle exposed cloves with olive oil, sprinkle with salt and pepper, and wrap in foil. Roast for 40 minutes, then cool and remove cloves from skins.
- Step 2: Mix the Dough. In a small bowl, dissolve yeast in room-temp water and let sit for 10–15 minutes. In a large bowl, combine flour, salt, oregano, and rosemary. Add yeast water, roasted garlic, and olive oil. Mix with spatula until sticky.
- Step 3: First Rise. Cover the bowl with a clean towel and let rise at room temperature for 8–10 hours, until doubled in size.
- Step 4: Shape and Cold Ferment.: Turn dough onto floured surface and gently shape into a ball. Place seam-side up in a floured bowl or basket, cover, and refrigerate 1–24 hours (up to 48 for deeper flavor).
- Step 5: Preheat Oven & Score. Preheat oven to 450°F (232°C) with a Dutch oven inside. Remove dough from fridge, invert onto parchment paper (seam-side down), and score top with a sharp blade.
- Step 6: Bake. Place dough with parchment into preheated Dutch oven. Cover and bake for 30 minutes. Uncover and bake another 15–20 minutes until golden brown.
- Step 7: Cool & Slice. Remove from Dutch oven and cool on wire rack at least 1 hour before slicing.
Notes
Try This Recipe and Leave a comment Below, your opinion matters to me!
Nutrition
- Serving Size: 4 serving
- Calories: 400
- Sugar: 5g
- Sodium: 400mg
- Fat: 10g
- Saturated Fat: 3g
- Unsaturated Fat: 7g
- Trans Fat: 0g
- Carbohydrates: 40g
- Fiber: 5g
- Protein: 15g
- Cholesterol: 50mg