
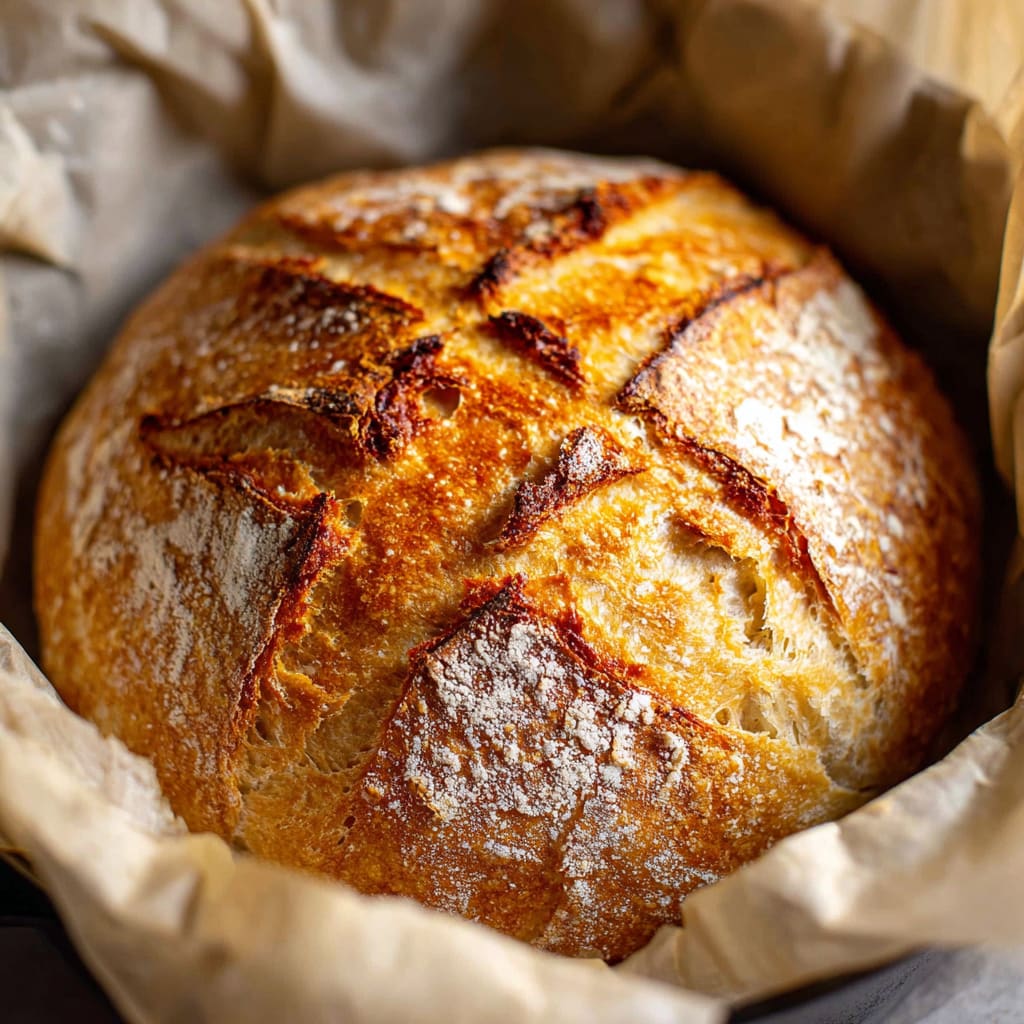
Imagine pulling a golden, crackling loaf from your oven, steam rising from a perfectly blistered crust that shatters at the first slice. Dutch Oven No Knead Bread is one of the most rewarding bakes you can make at home, and it requires almost no effort or experience. This rustic, artisan-style loaf delivers a chewy interior, crispy crust, and deep bakery flavor using just four simple ingredients. Whether you’re a first-time baker or a seasoned home cook, this recipe fits effortlessly into your routine. Dutch Oven No Knead Bread proves that exceptional bread doesn’t demand hours of labor. You’ll learn the exact steps, tips, and techniques to bake a stunning loaf every single time.
Why You’ll Love This Recipe
There are so many reasons to fall in love with Dutch Oven No Knead Bread. First and foremost, it’s beginner-friendly. You don’t need a stand mixer, special equipment, or years of baking experience. The hands-off, slow-rise method does all the heavy lifting for you, developing gluten naturally over time.
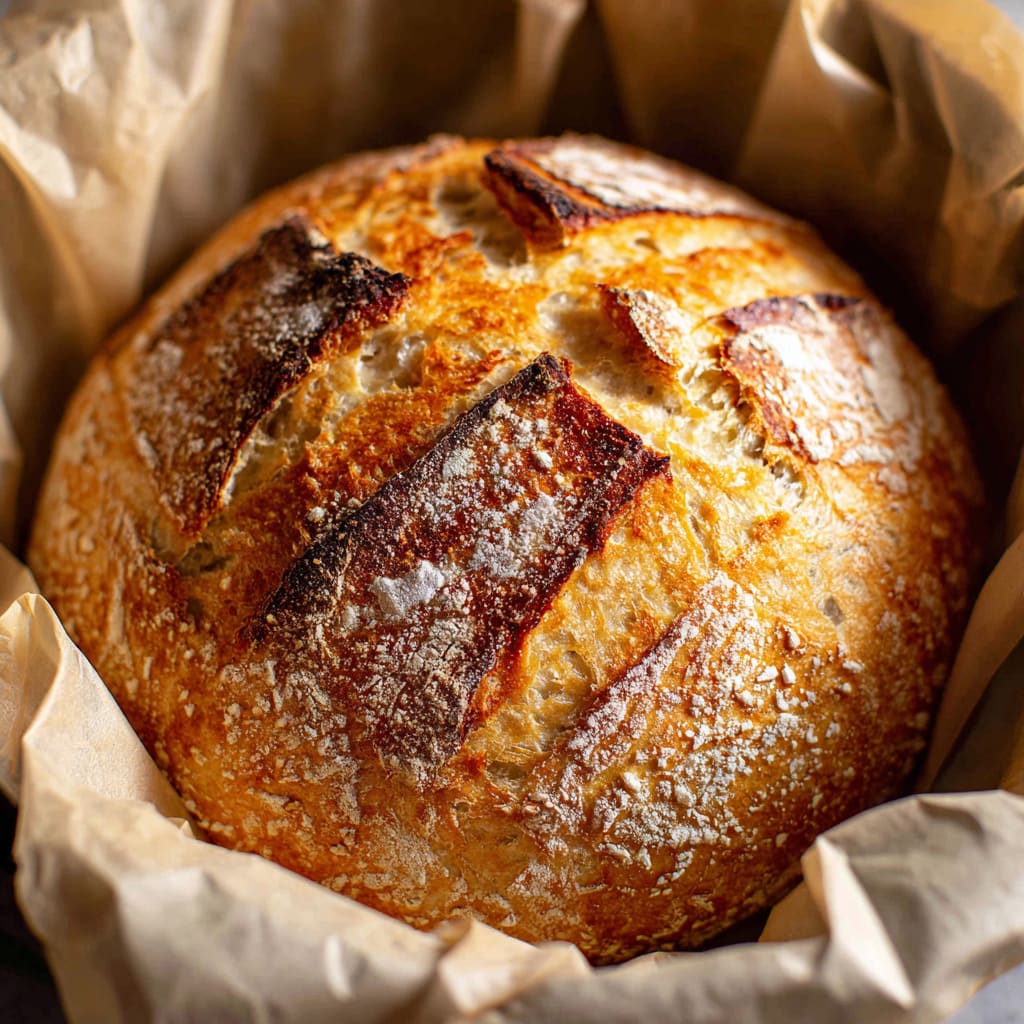
The texture contrasts here are truly exceptional. You get a crackling, deeply golden crust on the outside and a soft, chewy, open-crumb interior that pulls apart beautifully. It’s the kind of bread that makes a simple bowl of soup feel like a restaurant meal.
This no knead artisan bread is also incredibly versatile. It pairs with everything from butter and jam to hearty stews and charcuterie boards. You can even customize it with herbs, seeds, or cheese. With minimal active prep time and maximum flavor payoff, this easy homemade Dutch oven bread belongs in your weekly rotation.
Ingredients List for the Dutch Oven No Knead Bread
Only four pantry staples stand between you and a bakery-worthy loaf. These simple, everyday ingredients work together through time and heat to create remarkable structure, flavor, and texture.
– 1 1/2 cups warm water (about 100 degrees F)
– 1 packet yeast (active dry, instant, or quick rise — 2.25 teaspoons)
– 1 1/2 teaspoons fine grain salt
– 3 1/4 cups all-purpose flour
Pro Tips
Tip 1: Nail the water temperature. Water that’s too hot will kill your yeast before it can do its job, while water that’s too cold will slow activation dramatically. Aim for around 100 degrees F, which feels like warm bathwater on your wrist. This sweet spot ensures your yeast activates properly and your dough rises beautifully within the 2 to 3 hour window.
Tip 2: Preheat your Dutch oven thoroughly. This step is non-negotiable. Placing the dough into a scorching hot Dutch oven creates an instant burst of steam, which is the secret behind that gorgeous, crackly crust. Give it a full 20 extra minutes after the oven reaches 450 degrees F to ensure the pot is deeply, evenly heated before the dough ever touches it.
Tip 3: Don’t skip the cooling time. It’s tempting to slice into your Dutch Oven No Knead Bread the moment it comes out of the oven, but the interior is still setting during those first 30 to 60 minutes. Cutting too early results in a gummy, underdeveloped crumb. Patience here makes a genuine difference in texture and flavor.
Instructions
Step 1: In a large bowl or container, mix together the 1 1/2 cups warm water, 1 packet yeast (or 2.25 teaspoons), and 1 1/2 teaspoons fine grain salt until the yeast and salt are fully or almost dissolved. A whisk works wonderfully for this step.
Step 2: Add the 3 1/4 cups all-purpose flour to the bowl all at once and stir together until a sticky dough forms. Don’t worry about overmixing — just make sure everything is uniformly wet. It will be messy and sticky, and that’s completely normal. Scrape what’s left on the spoon with a silicone spatula. If the dough seems too wet, add 1 to 2 tablespoons more flour at a time. If it seems too dry, add a little more water in the same increments.
Step 3: Cover the bowl with a kitchen towel, or place the lid on the container ajar. Leave it for 2 to 3 hours to rise in a somewhat warm place until it has doubled in volume. If it’s cold in your home, preheat your oven for a few minutes, turn it off, then place the bowl inside to trap the warmth. If your house is warm, simply leave it on the counter or take it outside.
Step 4: After the two to three hour rise time, once the dough has roughly doubled, you have two options — bake it immediately, or store it in the refrigerator. See notes for full storage instructions.
Step 5: Thirty minutes to an hour before you’re ready to bake, preheat your oven to 450 degrees F. Place your Dutch oven in the oven with the lid ON while preheating. Once the oven reaches 450 degrees, continue preheating for another 20 minutes so the Dutch oven gets thoroughly hot.
Step 6: Scrape the dough onto the edge of a piece of parchment paper that has been dusted with flour. Shape it into as much of a loaf as possible by folding the edges of the dough up and over the top. A silicone spatula is helpful here.
Step 7: Use the edges of the parchment paper to flip the loaf over so the floured side faces up and the loaf sits centered on the parchment. Don’t worry about it looking perfectly smooth. If your Dutch oven is oval, shape the loaf oval. If it’s round, a circle works great.
Step 8: Optional but recommended — use a very sharp knife or clean razor blade to score a few slits across the top of the loaf, about 1/2 inch deep across the entire surface. A cross pattern works beautifully and helps control oven spring.
Step 9: Carefully remove the preheated Dutch oven from the oven and take off the lid. Grab the parchment from the sides and gently lower the loaf into the Dutch oven.
Step 10: Replace the lid and place the Dutch oven on the center rack. Bake for 35 minutes at 450 degrees F (or 40 minutes if the dough was cold from the refrigerator). Remove the lid and bake for another 5 to 10 minutes, until a deep golden brown crust forms — longer if necessary. Remove the loaf using the parchment paper and place it on a wire rack or cutting board to cool for at least 10 minutes, preferably 30 minutes to an hour, before slicing.
Variations
Rosemary and Sea Salt: Add 1 tablespoon of freshly chopped rosemary and a pinch of flaky sea salt directly into the dough during Step 1. The herb infuses throughout the crumb, adding a fragrant, savory depth that pairs perfectly with olive oil for dipping.
Whole Wheat No Knead Bread: Substitute up to 1 cup of the all-purpose flour with whole wheat flour. This variation of easy homemade Dutch oven bread creates a slightly denser, nuttier loaf with added nutritional value. You may need a splash of extra water since whole wheat absorbs more liquid.
Cheesy Garlic Dutch Oven Loaf: Fold in 3/4 cup of shredded sharp cheddar and 1 teaspoon of garlic powder during Step 2. The cheese melts into the crumb and crisps along the crust, making this an irresistible pull-apart variation perfect for entertaining.
Storage and Serving
Dutch Oven No Knead Bread stores exceptionally well. Once completely cooled, wrap the loaf in a clean kitchen towel or place it in a paper bag at room temperature for up to 2 days. For longer storage, slice the loaf and freeze in a zip-top bag for up to 2 months. Reheat frozen slices directly in a toaster or a 350-degree oven for a few minutes to revive the crust.
For serving, keep it simple. Slice thick and serve warm with salted butter and honey for a classic combination. This no knead artisan bread also pairs beautifully alongside soups, stews, and roasted vegetables. For entertaining, slice it thin and serve alongside a charcuterie board with soft cheeses, cured meats, and grainy mustard.
FAQs
Can I make Dutch Oven No Knead Bread without a Dutch oven?
A Dutch oven creates essential steam that produces the signature crispy crust. If you don’t have one, use an oven-safe pot with a tight-fitting lid, or place a pan of hot water in the bottom of the oven to mimic steam during baking.
Why didn’t my dough rise?
The most common cause is inactive yeast or water that was too hot. Always check the water temperature (around 100 degrees F) and verify your yeast is fresh and not expired before starting.
Can I refrigerate the dough overnight?
Absolutely. After the initial 2 to 3 hour rise, you can refrigerate the dough for up to 5 days. This slow, cold fermentation actually deepens the flavor significantly. Add 5 extra minutes to the covered baking time.
Why is my bread gummy inside?
Cutting into the loaf too soon is the most frequent culprit. Allow it to cool for at least 30 minutes to an hour so the internal crumb fully sets before slicing.
Do I need to score the top of the loaf?
Scoring is optional but highly recommended. Cutting slits into the dough allows steam to escape in a controlled way, promotes even oven spring, and gives your Dutch Oven No Knead Bread that beautiful artisan appearance.
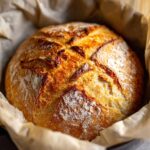
Dutch Oven No Knead Bread
- Prep Time: 15 mins
- Cook Time: 30 mins
- Total Time: 45 mins
- Yield: 4 people 1x
- Category: Dinner
- Method: Cooking
- Cuisine: American
Description
Discover the secret to making delicious Dutch Oven No Knead Bread in this easy recipe! Perfect for beginners. Try it today!
Ingredients
- 1 1/2 cups warm water ((about 100 degrees F))
- 1 packet yeast ((active dry, instant, or quick rise- 2.25 teaspoons))
- 1 ½ teaspoons fine grain salt
- 3 1/4 cups all-purpose flour
Instructions
- Step 1: In a large bowl (or container), mix together the 1 1/2 cups warm water, 1 packet yeast (or 2 : 25 teaspoons), and 1 ½ teaspoons fine grain salt, until yeast and salt are fully or almost dissolved (I like using a whisk for this).
- Step 2: Add the 3 1/4 cups all-purpose flour to the bowl all at once and stir together until a sticky dough forms. Don’t worry about mixing it too much, just make sure everything is uniformly wet. It WILL be messy and sticky. You can scrape what’s left on the spoon with a silicone spatula. (photo below provided for what the texture should look like – if it seems too wet, add 1-2 tablespoons more flour at a time until it is more like the photo. If it seems too dry, do the same thing with more water).
- Step 3: Cover the bowl with a kitchen towel (or place the container to the lid on ajar). Leave it for 2-3 hours to rise in a somewhat warm place until it’s doubled in volume, like photo in previous step (If it’s cold out, I like to preheat my oven for a few minutes, then turn it off, then place the bowl in the oven, trapping the heat inside. If your house is warm just leave it out, or if it’s warm outside you can place it there).
- Step 4: After the two-three hour rise time when the dough has about doubled, you have two options: bake, or store in the fridge. See notes for how to store.
- Step 5: 30 minutes to an hour before you are ready to bake, preheat your oven to 450 degrees F. Place your Dutch oven in the oven, with the lid ON, while the oven is preheating. Once the oven reaches 450, keep it preheating for another 20 minutes, so the Dutch oven gets good and hot.
- Step 6: Scrape the dough into the edge of a piece of parchment paper dusted with flour. Make it into as much of a “loaf” shape as you can by folding the edges up on top of it (a silicone spatula works well for this).
- Step 7: Then, use the edges of the parchment paper to flip the loaf over so the floured side is on top and the loaf is in the center of the parchment paper. Don’t worry about it looking beautiful or smooth on top. My Dutch oven is an oval, so I made an oval shape. You can do a circle if yours is round.
- Step 8: Optional: use a very sharp knife or clean razor blade to cut a few slits across the top of the loaf about 1/2″ deep, across the entire top. I did this in a cross shape for mine.
- Step 9: Take out the preheated Dutch oven and take off the lid, carefully! Grab the parchment from the sides and place the loaf in your Dutch oven.
- Step 10: Place the cover back on the Dutch oven and place in the preheated oven on the center rack. Bake for 35 minutes at 450 degrees F (40 minutes if dough was cold from the fridge). Remove the lid and bake for another 5-10 minutes, until a golden brown color forms- longer if necessary. Remove the loaf from the dutch oven (grabbing the sides of the parchment paper works well here) and place it on a wire rack or cutting board to cool for at least 10 minutes (preferably 30 minutes – an hour, if you have time) before slicing.
Notes
Try This Recipe and Leave a comment Below, your opinion matters to me!
Nutrition
- Serving Size: 4 serving
- Calories: 400
- Sugar: 5g
- Sodium: 400mg
- Fat: 10g
- Saturated Fat: 3g
- Unsaturated Fat: 7g
- Trans Fat: 0g
- Carbohydrates: 40g
- Fiber: 5g
- Protein: 15g
- Cholesterol: 50mg