
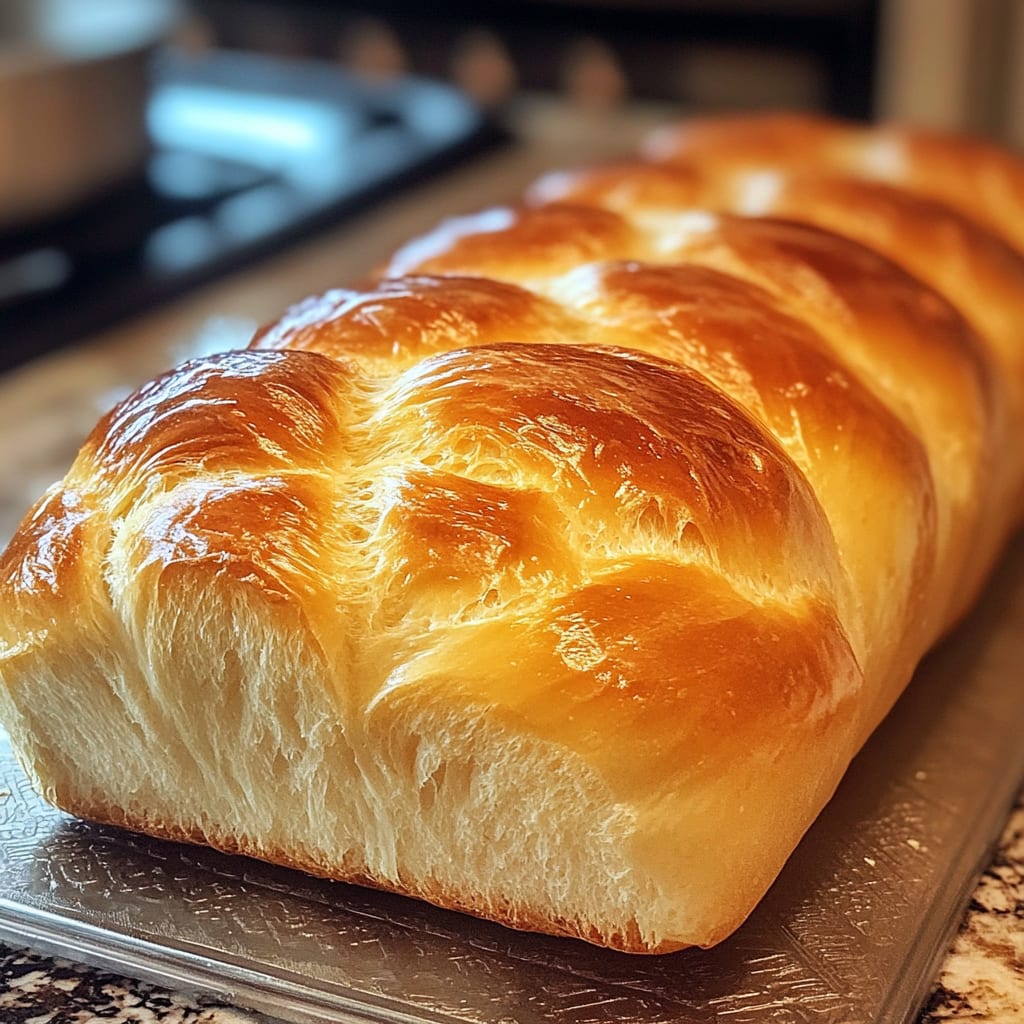
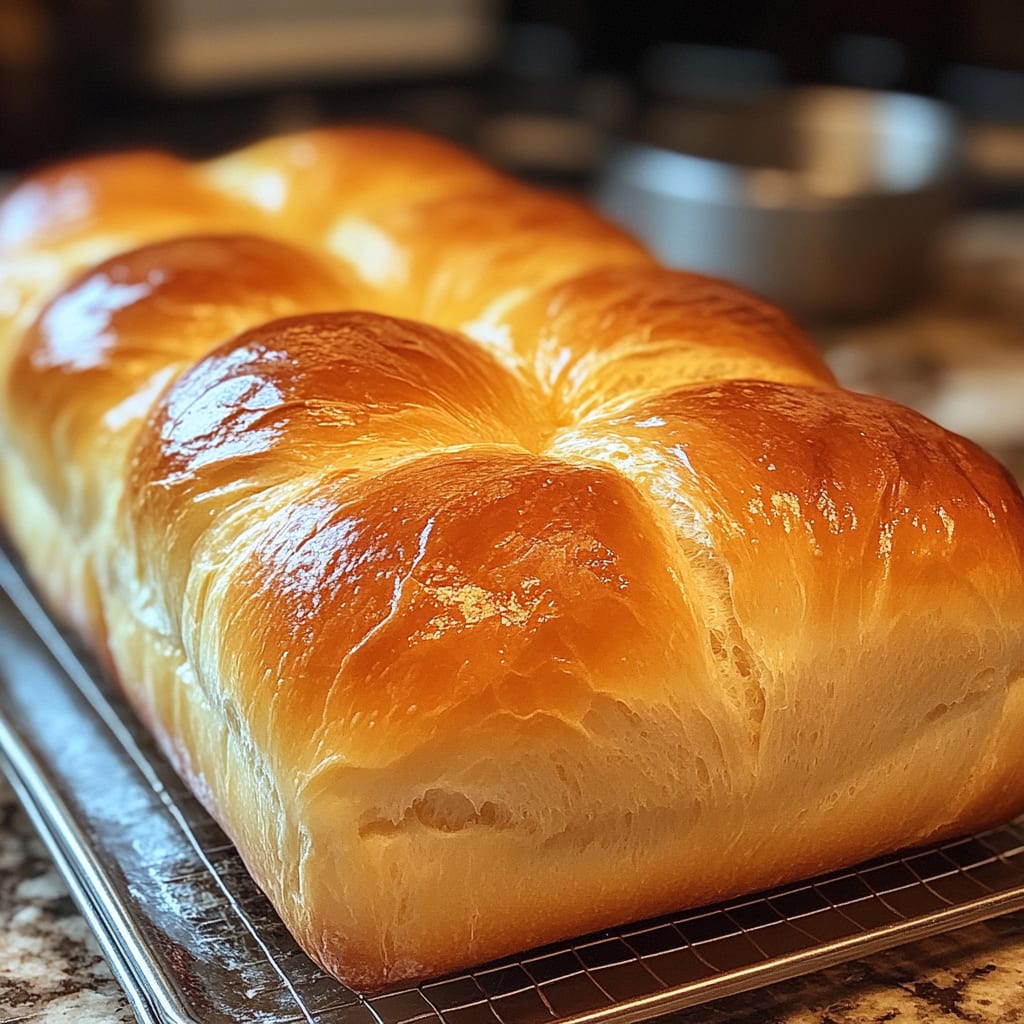
The intoxicating aroma of freshly baked Easy Homemade Bread wafting through your kitchen is one of life’s simple yet profound pleasures. That first slice – warm, with a crackling crust giving way to a pillowy, tender interior – creates a moment of pure culinary bliss that store-bought bread simply cannot match. This Easy Homemade Bread recipe strips away the complexity often associated with bread baking, making it accessible even for complete beginners. You’ll learn how to create bakery-quality bread with just a handful of basic ingredients, minimal equipment, and foolproof techniques that guarantee success every time you bake.
Why You’ll Love This Recipe
This Easy Homemade Bread recipe will quickly become your go-to for several compelling reasons. First, it requires just five simple ingredients that you likely already have in your pantry – no specialty flours or additives needed. The contrast between the golden, crackling exterior and the soft, airy crumb creates a textural symphony that elevates even the simplest meals.
Unlike many bread recipes that demand complicated techniques, this version eliminates intimidating steps like creating a starter or precise kneading. The dough is remarkably forgiving, perfect for novice bakers who might be nervous about working with yeast. The hands-on time is minimal – just about 15 minutes – with the rest being inactive rising and baking time.
Perhaps most satisfying is the incredible sensory experience: the earthy scent of the dough as it proofs, the therapeutic rhythm of shaping the loaf, and ultimately, the unmistakable aroma that fills your home as it bakes. This simple homemade bread delivers a sense of accomplishment that few other recipes can match, making you feel like a master baker with very little effort.
Ingredients
For this Easy Homemade Bread, gather these simple ingredients:
- 3½ cups (440g) all-purpose flour, plus extra for dusting
- 2¼ teaspoons (7g) active dry yeast (one standard packet)
- 2 teaspoons (12g) salt
- 1 tablespoon (12g) granulated sugar
- 1½ cups (355ml) warm water (about 110°F/43°C)
- 2 tablespoons (30ml) olive oil, plus extra for greasing
- Optional: 1 tablespoon butter, melted (for brushing the top)
The flour provides structure, while yeast creates those beautiful air pockets. Salt enhances flavor, sugar feeds the yeast, and warm water activates it. The olive oil adds richness and helps achieve that golden crust, while the optional butter brush gives your basic bread loaf a professional sheen and extra flavor.
Pro Tips
Water Temperature Matters: The most common reason homemade bread fails is improper yeast activation. Your water should feel warm to the touch but not hot—aim for 110°F (43°C). Too cold, and the yeast won’t activate properly; too hot, and you’ll kill the yeast. If you don’t have a thermometer, the water should feel like warm bathwater on your wrist.
The Windowpane Test: To ensure your dough is properly kneaded, perform the windowpane test. Take a small piece of dough and gently stretch it between your fingers. If it stretches thin enough to see light through without tearing immediately, your dough has developed sufficient gluten structure. This test removes the guesswork from kneading and guarantees a better texture in your Easy Homemade Bread.
Create Steam for Crusty Bread: For that coveted artisan-style crust, place an oven-safe pan on the bottom rack while preheating your oven. When you put your bread in to bake, pour about a cup of hot water into this pan. The resulting steam helps create that crackling, golden crust that makes homemade bread so irresistible. If you prefer a softer crust for your basic bread recipe, simply skip this step.
Instructions
Step 1: Activate the Yeast
In a large mixing bowl, combine the warm water (110°F/43°C) and sugar, stirring until dissolved. Sprinkle the yeast evenly over the surface and let it sit undisturbed for 5-10 minutes. You’ll know it’s active when it becomes foamy and releases a distinct yeasty aroma—this is your bread’s foundation coming to life! If your mixture doesn’t foam, your yeast might be expired or your water temperature was off, so it’s best to start fresh.
Step 2: Form the Dough
Add the olive oil to the yeast mixture, then gradually incorporate 3 cups of flour and salt, stirring with a wooden spoon until the mixture forms a shaggy dough. Turn it out onto a floured surface and knead for 8-10 minutes, gradually adding the remaining flour as needed. The dough should feel elastic and slightly tacky but not sticky. Remember, your Easy Homemade Bread will develop better flavor and texture with proper kneading, so don’t rush this step!
Step 3: First Rise
Lightly oil a clean bowl, place your dough inside, and turn it once to coat with oil. Cover with a damp cloth or plastic wrap and let it rise in a warm, draft-free spot for 1 to 1½ hours, or until doubled in size. The ideal temperature for rising is about 75-80°F (24-27°C). During colder months, create a warm environment by placing the bowl in an oven that’s been heated for just a minute and then turned off.
Step 4: Shape the Loaf
Once doubled, gently punch down the dough to release excess air bubbles. Turn it out onto a lightly floured surface and shape it into your desired loaf form—either a round boule or an oval loaf. For sandwich-style bread, place the shaped dough into a greased 9×5-inch loaf pan. For artisan-style Easy Homemade Bread, place it on a parchment-lined baking sheet. Cover and let rise for another 30-45 minutes until nearly doubled again.
Step 5: Bake to Perfection
Preheat your oven to 425°F (220°C). Before baking, use a sharp knife or bread lame to score the top of your loaf with a few shallow cuts—this allows for expansion and creates that beautiful artisanal look. Bake for 25-30 minutes until deeply golden brown. Your bread is done when it sounds hollow when tapped on the bottom. For an extra-golden crust, brush with melted butter immediately after baking. Allow your freshly baked Easy Homemade Bread to cool on a wire rack for at least 30 minutes before slicing to prevent it from becoming gummy.
Variations
Whole Wheat Version: Transform this recipe into a more nutritious homemade wheat bread by substituting half of the all-purpose flour with whole wheat flour. This variation creates a slightly denser loaf with a nuttier flavor profile and added fiber. You may need to add an extra tablespoon or two of water, as whole wheat flour absorbs more moisture than all-purpose.
Herb and Garlic Bread: Elevate your basic Easy Homemade Bread by adding 2 tablespoons of fresh chopped herbs (rosemary, thyme, and basil work beautifully) and 3-4 minced garlic cloves to the dough during the mixing stage. This aromatic variation pairs perfectly with Italian meals and makes extraordinary toast for sandwiches. For extra flavor, sprinkle additional herbs and flaky salt on top before baking.
No-Knead Option: For an even simpler approach to homemade bread baking, try the no-knead method. Increase water to 1¾ cups, mix all ingredients just until combined (the dough will be very sticky), and let it rise overnight (12-18 hours) at room temperature. Shape gently, let rise for another 2 hours, then bake in a preheated Dutch oven with the lid on for 30 minutes, removing the lid for the final 15 minutes of baking.
Storage and Serving
Your Easy Homemade Bread will stay fresh at room temperature for 2-3 days when stored properly. Once completely cooled, place it in a paper bag and then wrap in a clean kitchen towel—this method preserves the crust while preventing moisture loss. For longer storage, slice the entire loaf and freeze in a zip-top bag with parchment paper between slices, allowing you to thaw individual portions as needed for up to 3 months.
This versatile bread shines in multiple serving scenarios. For breakfast, toast thick slices and top with avocado and a poached egg for a café-worthy start to your day. At lunch, use it as the foundation for the ultimate BLT sandwich, where the sturdy texture stands up to juicy tomatoes without getting soggy. For dinner, serve warm slices alongside pasta dishes or hearty soups—the bread’s perfect for sopping up every last bit of sauce or broth. For an impressive appetizer, brush slices with olive oil, toast until golden, and serve with a selection of cheeses and olives.
FAQs
Can I use instant yeast instead of active dry yeast?
Yes! You can substitute instant yeast for active dry yeast in this Easy Homemade Bread recipe. Use the same amount, but you can skip the initial proofing step and mix the instant yeast directly with the dry ingredients. Your rising time might be slightly shorter.
Why didn’t my bread rise properly?
Several factors could affect rising: check that your yeast is fresh (not expired), ensure your water temperature is around 110°F (too hot kills yeast, too cold won’t activate it), and make sure your rising environment is warm enough. Dough rises best at 75-80°F. During winter months, create a warm environment by placing the bowl near a heating vent or in an oven that’s been turned on for just a minute and then switched off.
Can I make this bread without a stand mixer?
Absolutely! While a stand mixer makes the process easier, this homemade bread recipe works perfectly when mixed and kneaded by hand. Just combine ingredients with a wooden spoon until a shaggy dough forms, then turn onto a floured surface and knead for 8-10 minutes until smooth and elastic.
How do I achieve a crustier bread?
For a crustier Easy Homemade Bread, create steam in your oven by placing an oven-safe pan on the bottom rack while preheating. When you put your bread in, pour about 1 cup of hot water into the pan. The steam helps develop that crackling crust. Alternatively, bake your bread in a preheated Dutch oven with the lid on for the first 30 minutes of baking.
Can I add mix-ins like nuts or dried fruit?
Yes! This versatile basic bread recipe welcomes additions. Fold in up to 1 cup total of mix-ins like chopped nuts, dried fruits, or seeds after the first rise when you’re shaping the loaf. For savory versions, try adding olives, sun-dried tomatoes, or grated cheese to your Easy Homemade Bread.
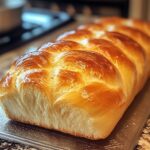
Easy Homemade Bread
- Prep Time: 15 mins
- Cook Time: 30 mins
- Total Time: 45 mins
- Yield: 4 servings 1x
- Category: Lunch
- Method: Cooking
- Cuisine: Americaine
Description
Discover how to make Easy Homemade Bread with simple ingredients and no fuss. Try it today!
Ingredients
- 3½ cups (440g) all-purpose flour, plus extra for dusting
- 2¼ teaspoons (7g) active dry yeast (one standard packet)
- 2 teaspoons (12g) salt
- 1 tablespoon (12g) granulated sugar
- 1½ cups (355ml) warm water (about 110°F/43°C)
- 2 tablespoons (30ml) olive oil, plus extra for greasing
- Optional: 1 tablespoon butter, melted (for brushing the top)
Instructions
- Step 1: Activate the Yeast In a large mixing bowl, combine the warm water (110°F/43°C) and sugar, stirring until dissolved. Sprinkle the yeast evenly over the surface and let it sit undisturbed for 5-10 minutes. You’ll know it’s active when it becomes foamy and releases a distinct yeasty aroma—this is your bread’s foundation coming to life! If your mixture doesn’t foam, your yeast might be expired or your water temperature was off, so it’s best to start fresh.
- Step 2: Form the Dough Add the olive oil to the yeast mixture, then gradually incorporate 3 cups of flour and salt, stirring with a wooden spoon until the mixture forms a shaggy dough. Turn it out onto a floured surface and knead for 8-10 minutes, gradually adding the remaining flour as needed. The dough should feel elastic and slightly tacky but not sticky. Remember, your **Easy Homemade Bread** will develop better flavor and texture with proper kneading, so don’t rush this step!
- Step 3: First Rise Lightly oil a clean bowl, place your dough inside, and turn it once to coat with oil. Cover with a damp cloth or plastic wrap and let it rise in a warm, draft-free spot for 1 to 1½ hours, or until doubled in size. The ideal temperature for rising is about 75-80°F (24-27°C). During colder months, create a warm environment by placing the bowl in an oven that’s been heated for just a minute and then turned off.
- Step 4: Shape the Loaf Once doubled, gently punch down the dough to release excess air bubbles. Turn it out onto a lightly floured surface and shape it into your desired loaf form—either a round boule or an oval loaf. For sandwich-style bread, place the shaped dough into a greased 9×5-inch loaf pan. For artisan-style **Easy Homemade Bread**, place it on a parchment-lined baking sheet. Cover and let rise for another 30-45 minutes until nearly doubled again.
- Step 5: Bake to Perfection Preheat your oven to 425°F (220°C). Before baking, use a sharp knife or bread lame to score the top of your loaf with a few shallow cuts—this allows for expansion and creates that beautiful artisanal look. Bake for 25-30 minutes until deeply golden brown. Your bread is done when it sounds hollow when tapped on the bottom. For an extra-golden crust, brush with melted butter immediately after baking. Allow your freshly baked **Easy Homemade Bread** to cool on a wire rack for at least 30 minutes before slicing to prevent it from becoming gummy.
Notes
Fresh ingredients will always yield the best flavor results.
Nutrition
- Serving Size: 1 serving
- Calories: 300
- Sugar: 5g
- Sodium: 400mg
- Fat: 10g
- Saturated Fat: 3g
- Unsaturated Fat: 7g
- Trans Fat: 0g
- Carbohydrates: 40g
- Fiber: 5g
- Protein: 15g
- Cholesterol: 50mg