
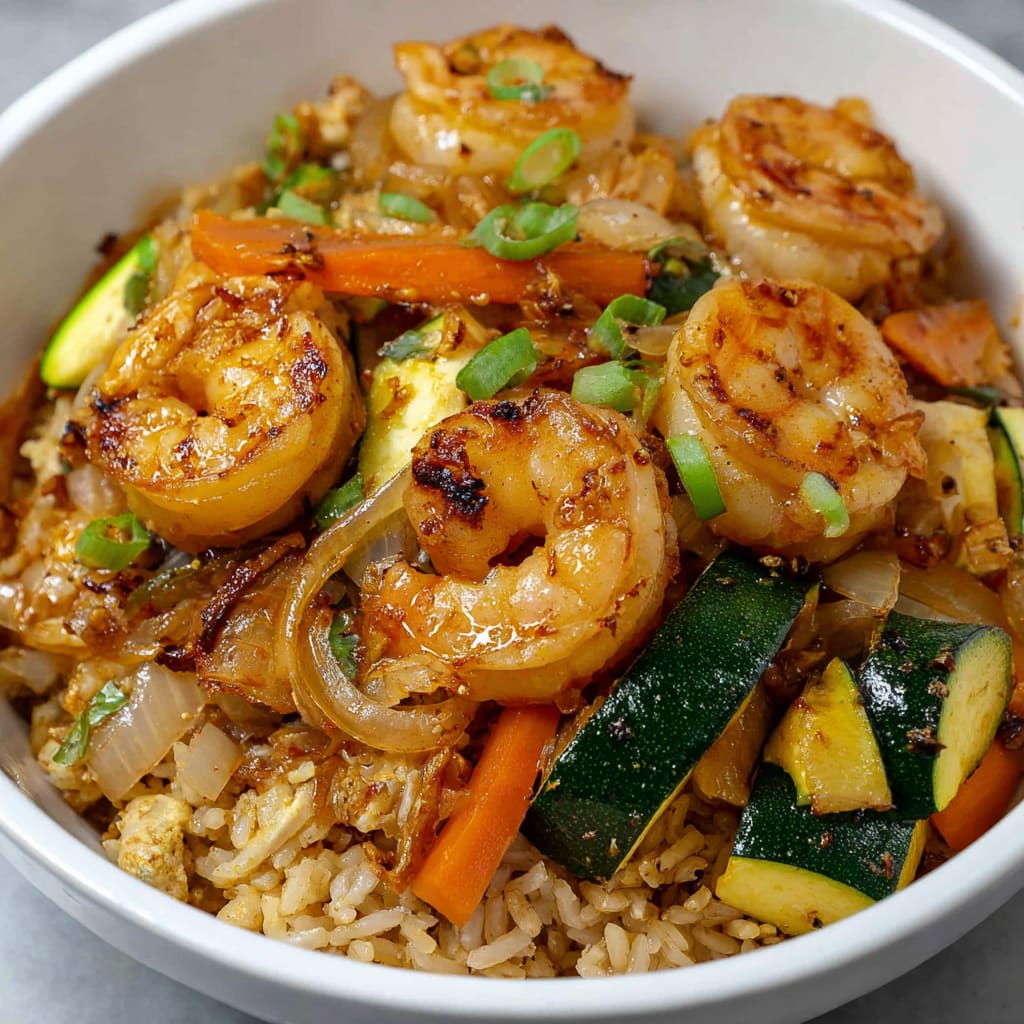
Sizzling butter, savory soy sauce, and perfectly charred shrimp — Hibachi Shrimp Rice Bowls bring the bold, smoky flavors of your favorite Japanese steakhouse straight to your kitchen. This dish layers tender shrimp, fluffy fried rice, and crisp-tender vegetables into one satisfying bowl, finished with a creamy, tangy yum yum sauce that ties everything together beautifully. Hibachi shrimp rice bowls are surprisingly quick to make, requiring just one skillet and simple pantry staples. Whether you’re cooking for a weeknight dinner or impressing guests, this recipe delivers restaurant-quality results at home. You’ll learn how to make the perfect yum yum sauce, cook shrimp to juicy perfection, and assemble a stunning bowl that looks and tastes incredible.
Why You’ll Love This Recipe
Hibachi shrimp rice bowls check every box for a winning weeknight meal. First, the flavors are absolutely bold and crave-worthy — buttery, salty, slightly smoky shrimp paired with savory fried rice and tender vegetables create an irresistible combination. Second, the texture contrast is extraordinary: juicy, plump shrimp alongside chewy fried rice, soft zucchini, and crispy bits of scrambled egg make every bite exciting. Third, this hibachi shrimp bowl recipe is incredibly fast, coming together in under 30 minutes with minimal prep. You only need one skillet, which means less cleanup and more time enjoying your meal. The homemade yum yum sauce adds a creamy, slightly spicy finishing touch that genuinely elevates this dish beyond anything bottled or store-bought. This recipe is flexible, family-friendly, and deeply satisfying every single time.
Ingredients List for the Hibachi Shrimp Rice Bowls
These carefully selected ingredients work together to replicate the authentic flavors of a Japanese hibachi restaurant. The combination of butter, soy sauce, and fresh vegetables creates deep umami flavor, while the homemade yum yum sauce adds a creamy, tangy finish that makes this dish truly unforgettable.
For the Yum Yum Sauce:
– ½ cup mayo
– 2 tbsp. ketchup
– ½ tsp. garlic powder
– ½ tsp. paprika
– Few dashes of hot sauce or to taste (optional)
For the Shrimp:
– 3 tbsp. unsalted butter (divided)
– 1 lb. raw shrimp (peeled, deveined, and patted dry)
– 4 tbsp. soy sauce (divided)
For the Vegetables and Fried Rice:
– 1 medium zucchini (sliced)
– 1 small-medium onion (chopped)
– 1 egg
– 2 cups frozen peas and carrots (unthawed)
– 4 cups cooked rice (cooled)
– 2 tbsp. soy sauce
Pro Tips for Perfect Hibachi Shrimp Rice Bowls
Use day-old rice for the best fried rice texture. Freshly cooked rice contains too much moisture and turns mushy when stir-fried. Cooled, day-old rice has drier grains that fry up with a slightly crispy, chewy texture that authentic hibachi fried rice is known for. If you’re in a rush, spread freshly cooked rice on a baking sheet and refrigerate it for at least one hour before cooking.
Pat your shrimp completely dry before cooking. Excess moisture causes shrimp to steam rather than sear, preventing that beautiful golden crust from developing. Using a paper towel to pat each shrimp dry ensures maximum contact with the hot butter and creates a more flavorful, restaurant-quality result.
Cook each component separately for authentic flavor. Overcrowding the pan drops the temperature and causes ingredients to steam instead of sauté. Cooking the shrimp, vegetables, and fried rice in separate batches allows each element to develop its own caramelized, slightly charred flavor before being combined in the final bowl assembly.
Instructions
Step 1: Make the Yum Yum Sauce
Make yum yum sauce by mixing together the mayo, ketchup, garlic powder, paprika, and hot sauce (if using) in a bowl. Set aside in the fridge until ready to serve. This sauce improves as it sits, so making it first gives the flavors time to meld beautifully.
Step 2: Cook the Shrimp
Heat a large skillet over medium-high heat. Add 1 tbsp. of butter. Cook shrimp in butter for about 1 minute on each side. Add 2 tbsp. of soy sauce and cook until the soy sauce is mostly evaporated. Remove shrimp from pan and set aside. The shrimp should be pink, curled, and lightly caramelized at the edges.
Step 3: Sauté the Vegetables
Dry out the large skillet with a paper towel if necessary. Heat another 1 tbsp. of butter in the same skillet and add the onion and zucchini. Sauté for about 4 to 5 minutes until the onion is translucent and the zucchini is softened. Add another 2 tbsp. of soy sauce and cook until the sauce is mostly evaporated. Remove from the pan and set aside. The vegetables should be tender with slight caramelization on their edges.
Step 4: Make the Fried Rice
Dry out the large skillet if necessary again. Heat another 1 tbsp. of butter in skillet. Add egg, breaking the yolk and scrambling it. Add cooled rice and frozen vegetables. Sauté for about 2 to 3 minutes and add 2 tbsp. soy sauce. Stir-fry for an additional 2 to 3 minutes or until warmed throughout. The rice should be hot, slightly crispy in spots, and deeply golden from the soy sauce.
Step 5: Assemble the Bowls
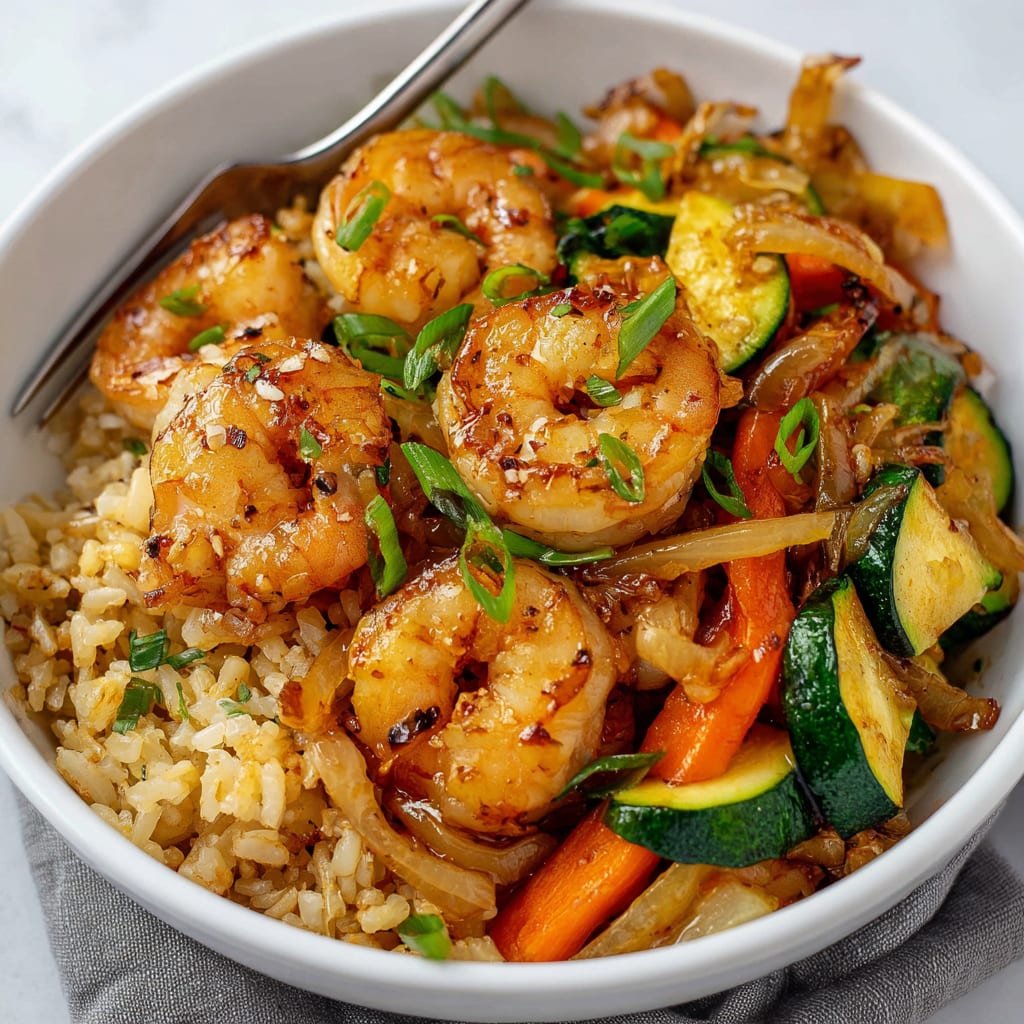
Assemble the bowl by layering the fried rice, vegetables, and shrimp and drizzling the yum yum sauce on top. Serve immediately while everything is hot and the flavors are at their peak. This hibachi shrimp and rice bowl is a complete, stunning meal straight from one skillet.
Variations
Chicken Hibachi Rice Bowl: Swap the shrimp for boneless, skinless chicken thighs cut into bite-sized pieces. Cook the chicken using the same butter and soy sauce method, ensuring the internal temperature reaches 165°F. The result is a hearty, equally delicious hibachi chicken bowl that the whole family will love.
Low-Sodium Option: Reduce the sodium content by replacing regular soy sauce with low-sodium soy sauce throughout the recipe. You can also use coconut aminos as a slightly sweeter, naturally lower-sodium alternative that still delivers deep umami flavor without overwhelming saltiness.
Vegetarian Hibachi Rice Bowl: Skip the shrimp entirely and double the vegetables, adding mushrooms, broccoli florets, and baby corn for a satisfying plant-based version. Use the same butter and soy sauce cooking method for the vegetables to maintain that classic hibachi flavor profile. This variation makes an excellent meatless Monday dinner option.
Storage and Serving Suggestions
Hibachi shrimp rice bowls are best enjoyed immediately after assembly, but leftovers store well for up to 3 days in an airtight container in the refrigerator. Store the yum yum sauce separately to prevent the rice from becoming soggy. Reheat the rice, vegetables, and shrimp in a skillet over medium heat with a small splash of water or soy sauce to restore moisture and prevent drying out. Avoid microwaving shrimp when possible, as it can make them rubbery.
For serving, consider topping your bowls with thinly sliced green onions and sesame seeds for added texture and color. A drizzle of sriracha alongside the yum yum sauce adds extra heat for spice lovers. Pair this dish with a light cucumber salad or miso soup for a complete, restaurant-inspired Japanese meal at home.
FAQs
Can I use pre-cooked shrimp for this recipe?
Pre-cooked shrimp can work in a pinch, but raw shrimp delivers far superior flavor and texture. Pre-cooked shrimp only needs about 30 seconds per side to heat through, as overcooking makes it rubbery and tough.
What type of rice works best for hibachi fried rice?
Long-grain white rice or jasmine rice works best because the grains stay separate and fry evenly. Short-grain or sticky rice becomes too dense and clumpy for stir-frying.
Can I make the yum yum sauce ahead of time?
Absolutely. The yum yum sauce can be prepared up to 5 days in advance and stored in an airtight container in the refrigerator. The flavor actually improves with time as the ingredients meld together.
Is this recipe gluten-free?
Standard soy sauce contains gluten. To make this dish gluten-free, substitute tamari or certified gluten-free soy sauce in equal amounts throughout the recipe without changing the overall flavor significantly.
Can I add other vegetables to my hibachi shrimp bowl?
Definitely. Mushrooms, broccoli, bell peppers, and snap peas are all excellent additions that complement the existing ingredients beautifully. Simply sauté them alongside the zucchini and onion in Step 3 for the best results.
Hibachi Shrimp Rice Bowls
- Prep Time: 15 mins
- Cook Time: 30 mins
- Total Time: 45 mins
- Yield: 4 people 1x
- Category: Dinner
- Method: Cooking
- Cuisine: American
Description
Tasty and satisfying Hibachi Shrimp Rice Bowls for a quick and delicious meal. Discover the recipe now!
Ingredients
- ½ cup mayo
- 2 tbsp. ketchup
- ½ tsp. garlic powder
- ½ tsp. paprika
- Few dashes of hot sauce or to taste (optional)
- 3 tbsp. unsalted butter (divided)
- 1 lb. raw shrimp (peeled, deveined, and patted dry)
- 4 tbsp. soy sauce (divided)
- 1 medium zucchini (sliced)
- 1 small-medium onion (chopped)
- 1 egg
- 2 cups frozen peas and carrots (unthawed)
- 4 cups cooked rice (cooled)
- 2 tbsp. soy sauce
Instructions
- Step 1: Make yum yum sauce by mixing together the mayo, ketchup, garlic powder, paprika, and hot sauce (if using) in a bowl. Set aside in the fridge until ready to serve.
- Step 2: Heat a large skillet over medium-high heat. Add 1 tbsp. of butter. Cook shrimp in butter for about 1 minute on each side. Add 2 tbsp. of soy sauce and cook until the soy sauce is mostly evaporated. Remove shrimp from pan and set aside.
- Step 3: Dry out the large skillet with a paper towel if necessary. Heat another 1 tbsp. of butter in the same skillet and add the onion and zucchini. Saute for about 4-5 minutes until the onion is translucent and the zucchini is softened. Add another 2 tbsp. of soy sauce and cook until the sauce is mostly evaporated. Remove from the pan and set aside.
- Step 4: Dry out the large skillet if necessary again. Heat another 1 tbsp. of butter in skillet. Add egg, breaking the yolk and scrambling it. Add cooled rice and frozen vegetables. Saute for about 2-3 minutes and add 2 tbsp. soy sauce. Stir fry for additional 2-3 minutes or until warmed throughout.
- Step 5: Assemble the bowl by layering the fried rice, vegetables, and shrimp and drizzling the yum yum sauce on top.
Notes
Try This Recipe and Leave a comment Below, your opinion matters to me!
Nutrition
- Serving Size: 4 serving
- Calories: 400
- Sugar: 5g
- Sodium: 400mg
- Fat: 10g
- Saturated Fat: 3g
- Unsaturated Fat: 7g
- Trans Fat: 0g
- Carbohydrates: 40g
- Fiber: 5g
- Protein: 15g
- Cholesterol: 50mg