

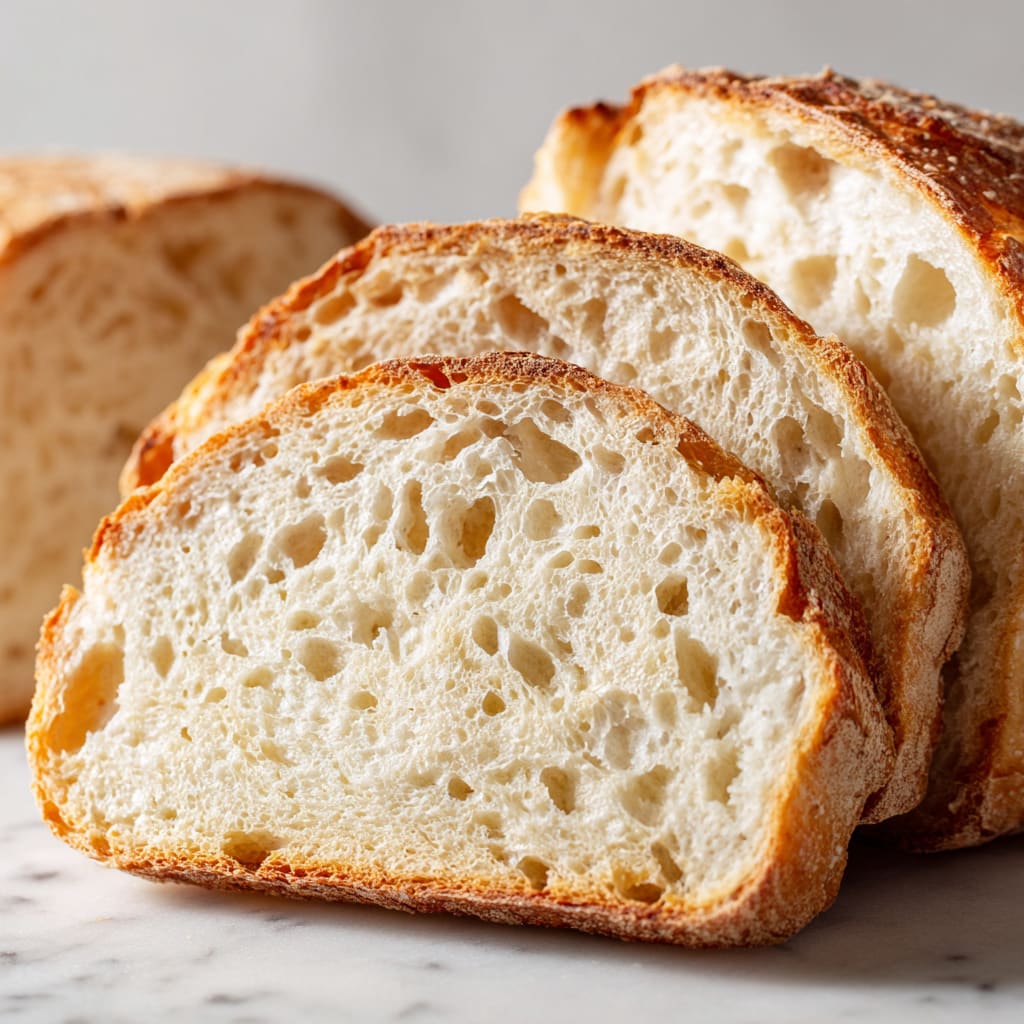
Imagine pulling a perfectly golden loaf of easy sourdough sandwich bread from the oven, its crust gently crackling as it cools and the kitchen filling with that unmistakable tangy, yeasty aroma. This recipe transforms simple pantry staples into a soft, flavorful loaf that rivals anything from a bakery. Whether you’re a seasoned sourdough baker or just getting started, this approachable recipe makes the process clear and stress-free. You’ll learn exactly how to time your starter, shape a perfect loaf, and achieve a beautifully risen, sliceable sandwich bread every single time.
Why You’ll Love This Recipe
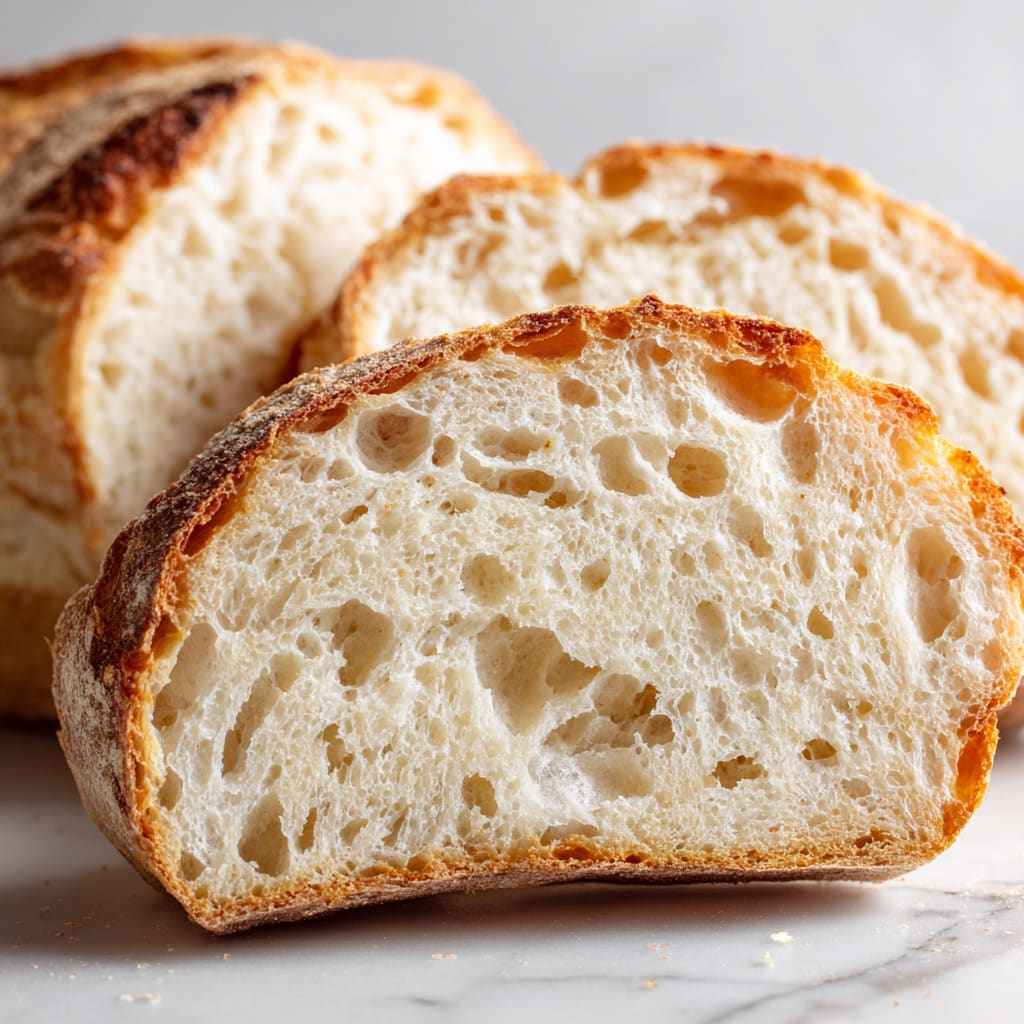
This easy sourdough sandwich bread delivers everything you want in a homemade loaf: a tender, chewy crumb, a lightly crisp golden crust, and that signature mild tang that makes every bite satisfying. Unlike complicated sourdough recipes that demand constant attention, this one works with your schedule. The bulk fermentation happens overnight or while you’re at work, so the bread practically makes itself. No Dutch oven, no steam injection, and no bread machine required. Just a standard loaf pan and a few simple ingredients you likely already have on hand. It’s the kind of sourdough sandwich loaf that gets requested every week once your family tastes it. Soft enough for peanut butter and jelly, sturdy enough for hearty sandwich fillings, and wholesome enough to feel good about serving to everyone at the table.
Ingredients List for the Easy Sourdough Sandwich Bread
You only need a handful of wholesome ingredients to make this sourdough sandwich loaf. Measure everything by weight for the most consistent, reliable results every time you bake.
– 65 grams active sourdough starter (active and bubbly)
– 300 grams lukewarm water
– 12 grams salt (2 teaspoons)
– 14 grams sugar
– 15 grams oil, avocado or olive (1 tablespoon, plus more for coating the pan)
– 400 grams bread flour
– 100 grams all-purpose flour
Pro Tips for the Best Easy Sourdough Sandwich Bread
Use a truly active starter. The single most important factor in this recipe is making sure your sourdough starter is at its peak activity. Feed it 4 to 8 hours before you begin and wait until it is visibly bubbly, has doubled in size, and passes the float test. A sluggish starter leads to a dense, under-risen loaf.
Control your water temperature. Lukewarm water sits around 90 to 100°F (32 to 38°C). Water that is too hot will harm the wild yeast cultures in your starter, while water that is too cold will dramatically slow fermentation. A simple kitchen thermometer takes the guesswork out of this step entirely.
Don’t rush the second rise. The second proof, when the dough rises above the rim of the pan, is what gives your easy sourdough sandwich bread its signature domed top and light, airy crumb. Patience here is rewarded with a loaf that slices beautifully and holds together for sandwiches without crumbling or tearing.
Instructions
Step 1: Feed the Starter
Feed your sourdough starter 4 to 8 hours before making the bread so that it is active and bubbly when you begin the dough. Look for a starter that has roughly doubled in volume and shows plenty of bubbles throughout.
Step 2: Make the Dough and First Rise
Whisk together the lukewarm water and sourdough starter in a large mixing bowl until the starter is fully dissolved and the mixture looks slightly frothy. Add the bread flour, all-purpose flour, oil, sugar, and salt. Mix with a spatula or slightly damp hands until all the dry flour is incorporated and no dry streaks remain. Cover the bowl with a damp tea towel or plastic wrap and let the dough rest for 1 hour.
After resting, shape the dough into a smooth ball, cover it again, and allow it to rise until it has doubled in size. Depending on your home temperature, this bulk fermentation will take approximately 8 to 10 hours. A warmer kitchen speeds things up, while a cooler room slows it down.
Step 3: Shaping
Slide the dough onto a lightly floured surface. Press gently with your fingertips across the surface of the dough to release any large air pockets trapped inside. Tuck the four sides of the dough in toward the center and roll it into a rough rectangle shape. Let the dough rest uncovered on the counter for 10 minutes so the gluten relaxes and shaping becomes easier.
Lightly oil a 9×5 inch bread pan. Push the sides of the dough in to reinforce and tighten the rectangle shape. Set the shaped dough seam-side down into the prepared pan and cover it loosely with a zip-top bag, plastic wrap, or a damp tea towel.
Step 4: Second Rise
Allow the dough to rise at room temperature until it crests approximately half an inch above the rim of the bread pan. Depending on your home’s temperature, this second rise will take between 2 and 4 hours. Do not skip this step or cut it short, as a fully proofed loaf bakes up with a much better texture and height.
Step 5: Bake
Preheat your oven to 400°F (200°C). Place the bread pan in the oven and bake uncovered for 40 minutes, or until the loaf is deeply golden brown and well-risen. When tapped on the bottom, a fully baked loaf will sound hollow. Cool the bread in the pan for 5 minutes before transferring it to a wire rack to finish cooling completely. Enjoy!
Variations
Whole Wheat Sourdough Sandwich Bread: Swap up to 100 grams of the bread flour for whole wheat flour to add a nuttier flavor and extra fiber. Keep in mind that whole wheat absorbs more water, so you may need to add an additional 10 to 15 grams of water to keep the dough workable.
Seeded Sourdough Loaf: Press sesame seeds, poppy seeds, or everything bagel seasoning onto the surface of the shaped dough just before the second rise. The seeds toast beautifully during baking and add delightful texture and flavor to every slice.
Honey Oat Sourdough Sandwich Bread: Replace the sugar with 20 grams of honey for a subtle natural sweetness and stir in 50 grams of rolled oats. Sprinkle extra oats on top of the loaf for a rustic, bakery-style finish that looks as good as it tastes.
Storage and Serving Suggestions
Once your easy sourdough sandwich bread has cooled completely to room temperature, store it cut-side down on a cutting board or wrapped in a clean kitchen towel at room temperature for up to 3 days. Avoid storing it in plastic bags, which trap moisture and soften the crust. For longer storage, slice the entire loaf and freeze the slices in a zip-top freezer bag for up to 3 months. Individual slices can go straight from the freezer into the toaster.
This sourdough sandwich loaf is incredibly versatile at the table. Serve it toasted with butter and jam for breakfast, layered with deli meats and cheese for lunch, or alongside a warm bowl of soup for dinner. It also makes exceptional avocado toast, French toast, and grilled cheese sandwiches.
Frequently Asked Questions
How do I know when my sourdough starter is ready to use?
Your starter is ready when it has doubled in size since feeding, looks visibly bubbly throughout, smells pleasantly tangy, and a small spoonful floats in a glass of water. All four signs together confirm it is at peak activity.
Can I make this recipe without a kitchen scale?
A scale is strongly recommended for this sourdough sandwich loaf recipe because small measurement differences in flour and water significantly affect the dough texture. Volume measurements are less reliable and consistent with bread baking.
Why didn’t my bread rise properly?
The most common culprit is an under-active starter. Make sure your starter has been fed recently and is visibly bubbly before you begin. Cool room temperatures also slow fermentation considerably, so try placing the dough in a slightly warmer spot.
Can I use whole wheat flour instead of bread flour?
You can substitute a portion of the bread flour with whole wheat, but replacing it entirely will result in a denser, heavier loaf. A blend of flours produces the best texture for this homemade sourdough sandwich bread.
What size loaf pan should I use?
A standard 9×5 inch loaf pan works best for this recipe. A smaller pan may cause the dough to overflow during the second rise, while a larger pan produces a flatter, wider loaf that won’t slice as well for sandwiches.

Easy Sourdough Sandwich Bread
- Prep Time: 15 mins
- Cook Time: 30 mins
- Total Time: 45 mins
- Yield: 4 people 1x
- Category: Lunch
- Method: Cooking
- Cuisine: American
Description
Discover how to make Easy Sourdough Sandwich Bread at home with simple tips and tricks. Try it today!
Ingredients
- 65 grams active sourdough starter (active + bubbly)
- 300 grams lukewarm water
- 12 grams salt (2 teaspoons)
- 14 grams sugar
- 15 grams oil (avocado or olive) (1 tablespoon, plus more for coating the pan)
- 400 grams bread flour
- 100 grams all purpose flour
Instructions
- Step 1– Feed the Starter
Feed your sourdough starter 4-8 hours prior to making the bread, so that the starter is active and bubbly when you start the dough. - Step 2– Make the Dough + First Rise
Whisk together the lukewarm water and sourdough starter. Add the bread flour, all-purpose flour, oil, sugar, and salt. Mix with a spatula or slightly damp hands until all the dry flour is incorporated. Cover with a damp tea towel or saran wrap and let rest for 1 hour. - Ingredients: 65 g active sourdough starter, 300 g lukewarm water, 12 g salt, 14 g sugar, 15 g oil (avocado or olive), 400 g bread flour, 100 g all-purpose flour
- Shape the dough into a ball and cover. Allow it to rise until double in size (8-10 hours, depending on home temperature).
- Step 3– Shaping
Slide the dough onto a lightly floured surface. Press gently with fingertips to remove air pockets. Tuck the four sides into itself and roll into a rectangle. Let rest for 10 minutes. - Lightly oil a 9×5 bread pan. Push the sides of the dough in, reinforcing the rectangle shape. Set the dough in the pan and cover (ziploc bag, saran wrap, or damp tea towel).
- Step 4– Second Rise
Let the dough rise until it is 1/2 inch above the rim of the pan (2-4 hours, depending on temperature). - Step 5– Bake
Preheat the oven to 400°F (200°C). Bake the dough, uncovered, for 40 minutes or until golden brown and well-risen. Cool in the pan for 5 minutes, then transfer to a wire rack to finish cooling. Enjoy!
Notes
Try This Recipe and Leave a comment Below, your opinion matters to me!
Nutrition
- Serving Size: 4 serving
- Calories: 400
- Sugar: 5g
- Sodium: 400mg
- Fat: 10g
- Saturated Fat: 3g
- Unsaturated Fat: 7g
- Trans Fat: 0g
- Carbohydrates: 40g
- Fiber: 5g
- Protein: 15g
- Cholesterol: 50mg